To master small-batch coffee roasting, you’ll need crucial equipment including a dedicated roaster, thermometer, and digital scale.
Monitor bean transformation through key stages: drying (green to yellow), Maillard reaction (tan), and initial crack (around 196°C).
Control temperature between 180-250°C while tracking roast profiles and development time. Maintain consistent batch sizes and document each roast’s parameters.
Proper technique combines precise temperature control, quality beans, and systematic monitoring—principles that lead to roasting excellence.
Key Takeaways
- Invest in essential equipment including a dedicated roaster, accurate thermometer, digital scale, cooling tray, and proper ventilation system.
- Monitor bean temperature through key stages: drying (180-250°C), Maillard reaction, and first crack (around 196°C).
- Source high-quality green beans from reputable suppliers and store them properly in airtight containers.
- Document each roast’s temperature curves, timing, and batch sizes to track progress and maintain consistency.
- Practice regular cupping sessions to assess quality and refine roasting profiles based on feedback.
Essential Equipment for Home Coffee Roasting

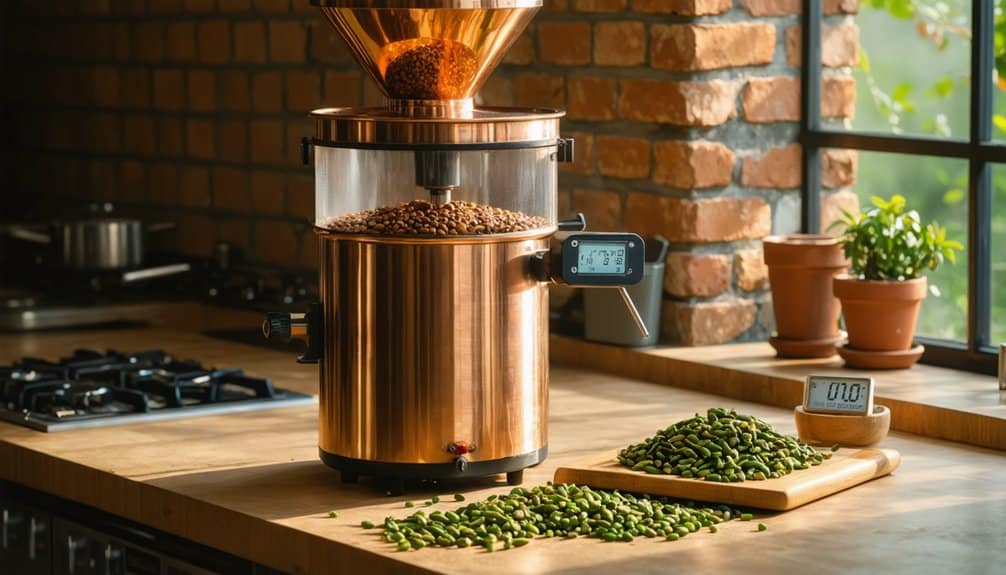
To start your home coffee roasting adventure, you’ll need specific equipment that guarantees consistent, high-quality results.
Begin with a dedicated roaster if you want optimal control, or choose a popcorn popper for an economical entry point.
You’ll also need a reliable thermometer to monitor bean temperature, a digital scale for precise measurements, and a timer to track your roast profiles.
Don’t overlook crucial tools like a cooling tray for rapid heat dissipation, heat-resistant utensils for bean agitation, and protective gear such as oven mitts.
For manual methods, invest in a heavy-duty cast iron pan or rimmed baking sheet. A proper ventilation system is essential to prevent smoke buildup and maintain a safe roasting environment.
Understanding the Stages of the Roast
As you monitor your coffee roast, you’ll observe the beans transform from their primary green state through distinct color changes: pale yellow, tan, and progressively darker browns.
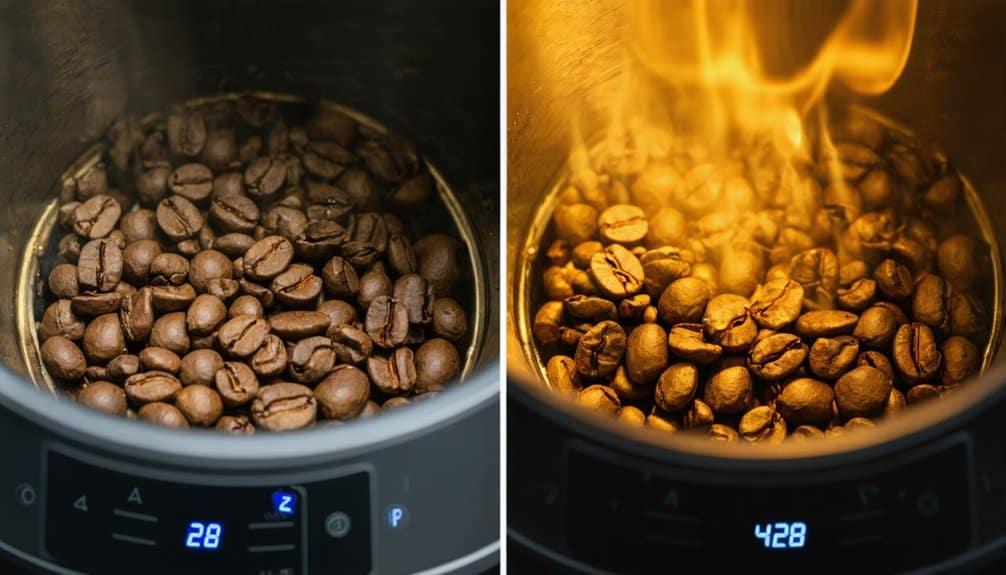
During the important Maillard stage, you’ll notice the beans expanding and developing a bread-like aroma before reaching initial crack – an audible popping sound that signals the beginning of the development phase.
You can identify initial crack by its distinctive sound similar to popping popcorn, accompanied by a rapid expansion of bean size and the release of water vapor and CO2.
The temperature during this development phase needs to stay at about 170 degrees Celsius for optimal roasting results.
Physical Changes During Roasting
Understanding the physical changes during coffee roasting requires mastering four distinct stages that transform raw green beans into aromatic brown ones.
You’ll start with the drying stage, where moisture content drops to 10-12% at around 160°C.
The Maillard phase follows, initiating significant chemical reactions between sugars and amino acids.
Careful timing during this phase is essential as rushing the process can negatively impact flavor development.
During development, you’ll encounter:
- Initial crack – a popcorn-like sound marking the bean’s expansion
- Color transformation from green to yellow to rich brown
- Internal changes yielding complex flavor compounds
Finally, you’ll cool the beans rapidly to halt the process and preserve peak flavor development.
Identifying First Crack Signs
Learning to identify preliminary crack marks a significant moment in your coffee roasting voyage, as this auditory and visual milestone signals the vital shift into flavor development.
You’ll notice beans transforming at around 196°C, accompanied by distinct popping sounds similar to popcorn.
The Maillard reaction begins when beans reach temperatures between 284°F to 329°F.
| Indicator | What You’ll Experience |
|---|---|
| Sound | Loud, sharp pops |
| Color | Golden brown hue |
| Timing | 6-7 minutes in |
Watch for uniform cracking across your batch, indicating even heat distribution. Master temperature control by reducing heat slightly before preliminary crack begins.
This precision helps you achieve your desired roast level while maintaining ideal flavor development through the important post-crack phase.
Selecting and Preparing Green Coffee Beans

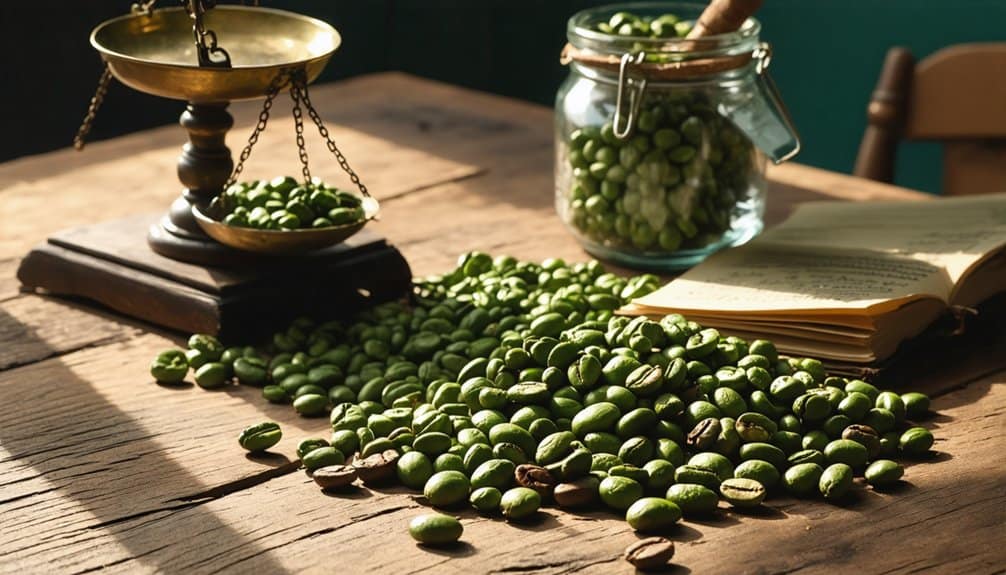
Your selection of high-quality green coffee beans starts with understanding regional characteristics and verifying key attributes like altitude-grown specifics, processing methods, and harvest dates.
Beans grown at higher elevations develop more complex flavors and enhanced sweetness.
You’ll need to inspect your beans meticulously under full-spectrum lighting, checking for defects and grading according to SCA standards using a representative 350-gram sample.
Before roasting, you’ll want to store your beans in airtight containers and measure precise batch weights using a digital scale to guarantee consistent results.
Bean Source and Quality
The foundation of exceptional small-batch coffee roasting lies in selecting high-quality green coffee beans from reputable sources.
You’ll want to focus on beans with uniform size, consistent color, and minimal defects – no more than 5 full defects per 350 grams for specialty grade coffee.
When sourcing your beans, consider:
- Origin altitude – higher elevations produce more complex flavor profiles
- Processing method – natural or washed processes greatly impact taste
- Farm traceability – single-origin beans offer more distinct characteristics
Look for suppliers who provide complete transparency about their sourcing practices and harvest dates, ensuring you’re working with fresh, ethically sourced beans.
Consider purchasing from established vendors like Sweet Maria’s, Bodhi Leaf, or Hacea who are known for quality and educational resources.
Storage and Pre-Roast Preparation
Proper storage and preparation of green coffee beans plays a critical role in achieving exceptional roast profiles.
Store your beans in a cool, dry place, preferably in burlap sacks for ideal preservation.
You’ll want to maintain 16% moisture content before roasting—measure initially, then add water as needed, allowing up to 16 hours for absorption.
Before roasting, sort and clean your beans thoroughly. For consistent results, work with small batches of 60-75 grams.
Spread them evenly on your roasting surface and preheat your equipment to 450°F. Consider sourcing beans from specialty coffee suppliers for the highest quality results.
This careful preparation guarantees you’re set up for a uniform, high-quality roast.
Mastering Temperature Control and Timing
Mastering precise temperature control and timing stands as the cornerstone of successful small-batch coffee roasting.
You’ll need to maintain temperatures between 180-250°C while closely monitoring the significant Initial Crack, which typically occurs around 196°C.
For ideal results in small-batch roasting, follow these essential steps:
- Start with a properly preheated drum based on your batch size
- Maintain consistent airflow to prevent temperature fluctuations
- Monitor bean development until Initial Crack (6-9 minutes for light roasts, 10-11 for darker profiles)
Your control over temperature rise and timing directly impacts flavor development, from bright, floral notes in light roasts to deep, smoky characteristics in dark roasts.
Reducing power to P5 at 150°C helps achieve optimal heat distribution and prevents scorching during the crucial development phase.
Developing Your Roast Profile

Building on your temperature control fundamentals, developing a personalized roast profile allows you to achieve consistent, high-quality results across different coffee varieties.
Start by mapping your target temperatures and times, noting essential milestones like primary crack (200-202°C) and second crack (224-226°C).
You’ll need to adjust your profile based on bean characteristics, including origin and processing method.
Ethiopian beans might require a lighter roast to highlight their fruity notes, while Central American beans often shine with medium profiles emphasizing chocolate flavors.
The Maillard reaction process creates these distinct flavor compounds during roasting, transforming the raw beans into aromatic coffee.
Document each roast meticulously, recording temperature curves, airflow adjustments, and batch sizes to refine your technique.
Common Mistakes to Avoid When Roasting
Several significant mistakes can derail your small-batch coffee roasting results, even with quality equipment and beans.
Understanding these pitfalls will help you achieve consistent, high-quality roasts every time.
To guarantee the best results, avoid these important errors:
- Neglecting proper temperature control and roaster preheating, which leads to uneven heat distribution
- Overloading your roaster beyond its designed capacity, preventing beans from moving freely
- Failing to track key roasting markers like initial crack timing and color development
Maintaining a detailed roasting log helps track successes and failures while refining your technique.
Regular equipment calibration, proper batch sizing, and meticulous monitoring of roast progression are fundamental.
Don’t skip cupping sessions—they’re crucial for quality control and profile refinement.
Tips for Achieving Consistency in Small Batches

While achieving consistency in small-batch coffee roasting requires precision and attention to detail, you’ll find success by implementing systematic controls across your process.
Maintain fixed batch sizes and adapt your approach to each green bean’s characteristics. Use data-logging software to track your roast profiles and analyze them graphically.
Small batches under fifty pounds per load allow optimal control over the roasting process.
Monitor key metrics like weight loss percentages and moisture content. Keep your thermocouples fully immersed for accurate readings.
Establish standardized between-batch protocols and slower roast times to guarantee even heat distribution.
Regular cupping sessions will help you assess consistency and make necessary adjustments to perfect your craft.
FAQs
How Long Should Roasted Coffee Rest Before Brewing?
You’ll want to rest your coffee based on roast level: 1-5 days for dark roasts, 5-7 days for medium roasts, and 10-14 days for light roasts. Espresso requires 7-14 days for ideal extraction.
Can Different Types of Beans Be Roasted Together in One Batch?
You’ll want to avoid roasting different beans together, as their varying densities and moisture levels create inconsistent results. If you must blend, choose beans with similar physical characteristics.
What’s the Average Lifespan of a Home Coffee Roaster?
Properly preserved and pampered, your home roaster typically lasts two years, though you’ll extend its lifespan with regular maintenance, lighter roasts, and less frequent use. Advanced models can serve considerably longer.
How Do Seasonal Temperature Changes Affect Home Roasting Results?
You’ll need to adjust charge temperatures and roast profiles seasonally. Cold weather requires higher initial temps and longer roast times, while humidity affects moisture content and heat transfer efficiency in your beans.
Does Altitude Impact Roasting Time and Temperature Requirements?
You’ll need to adjust your roasting times and temperatures based on altitude. At higher elevations, you’ll experience faster roasts due to lower oxygen, requiring higher temperatures to compensate for thinner air.
The Bottom Line
Through mastering small-batch coffee roasting, you’ll reveal a million flavor possibilities right in your kitchen.
By maintaining precise temperature control, documenting your roast profiles, and understanding bean development stages, you’ll consistently produce specialty-grade coffee. Focus on initial crack timing, development ratio, and proper heat application to achieve ideal results.
Don’t forget to cup your roasts regularly – it’s the key to refining your craft.