To create a light coffee roast, you'll need to carefully monitor temperatures between 180-205°C (350-400°F) using a quality roasting machine. Select high-altitude, dense beans like Ethiopian Yirgacheffe or Colombian Gesha varieties. Control airflow and heat application while watching for the initial crack around 196°C (385°F), indicated by popping sounds and light brown coloring. Cool beans rapidly within 2-3 minutes post-roast using air cooling methods. Mastering these precise techniques will reveal your coffee's brightest, most complex flavors.
Key Takeaways
- Select high-altitude, dense beans like Ethiopian Yirgacheffe or Colombian Gesha for bright, fruity flavors suitable for light roasts.
- Maintain precise temperature control between 180-205°C (350-400°F), monitoring internal bean temperature throughout the roasting process.
- Watch for first crack around 196°C (385°F), where beans turn light brown and make popping sounds.
- Stop roasting shortly after first crack begins to preserve bright acidity and complex aromatics.
- Cool beans rapidly within 2-3 minutes using air cooling methods and store in airtight containers immediately.
Understanding the Light Roast Coffee Bean Selection
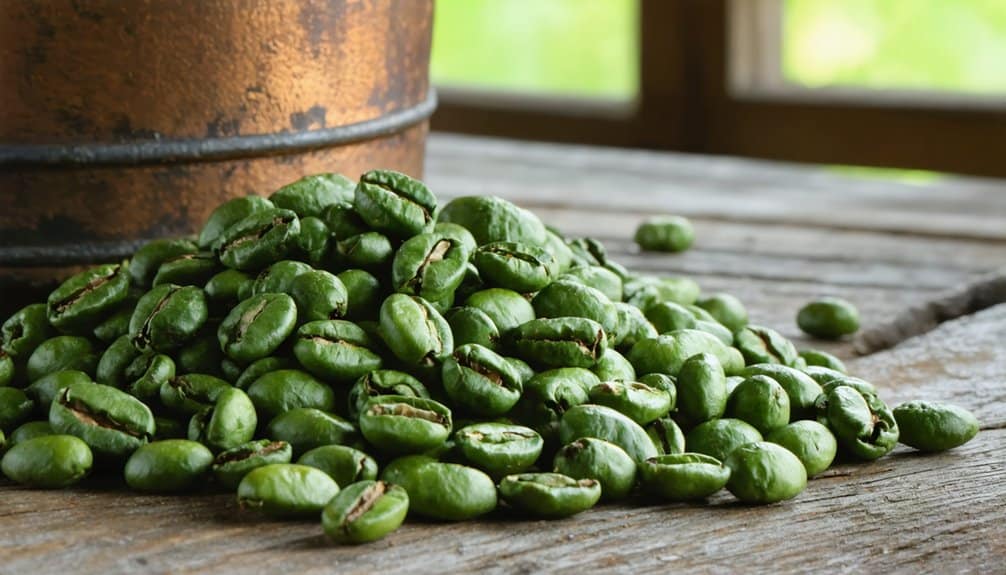
When creating the perfect light roast coffee, selecting the right beans is paramount to achieving the desired flavor profile. You'll want to focus on high-altitude beans from specific regions known for their light roast potential. African beans offer bright, fruity notes, while Costa Rican and Hawaiian Kona beans provide delicate, nuanced flavors perfect for light roasting.
Look for freshly harvested, dense beans that have been washed or honey-processed. Ethiopian Yirgacheffe, Colombian Gesha, and Bourbon varieties are excellent choices. Remember, beans grown at higher elevations typically deliver more complex flavor profiles that'll shine through in your light roast. Proper cupping evaluations can help identify beans with clarity in flavor that particularly suits light roasting techniques.
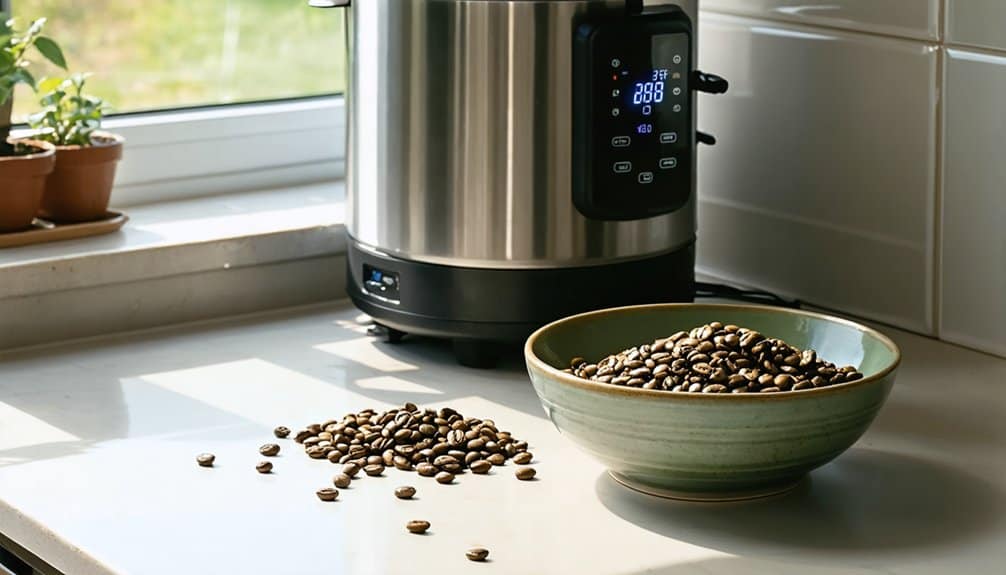
Essential Equipment for Light Roast Coffee Production
Successful light roast coffee production requires a carefully curated set of specialized equipment. You'll need pre-cleaning tools like a destoner and green coffee processor to guarantee pure, defect-free beans before roasting. Select a roasting machine that matches your batch size – from the Sandbox Smart R1 for small batches to the Kaleido M10 for larger production. Maintain consistent quality across batches by using color analyzers to measure your roast profile. Don't forget crucial accessories: a precise thermometer, timer, and heat-resistant gloves for safety. Complete your setup with proper cooling and packaging equipment, including cooling trays and heat sealers, to preserve the delicate flavors of your light roast.
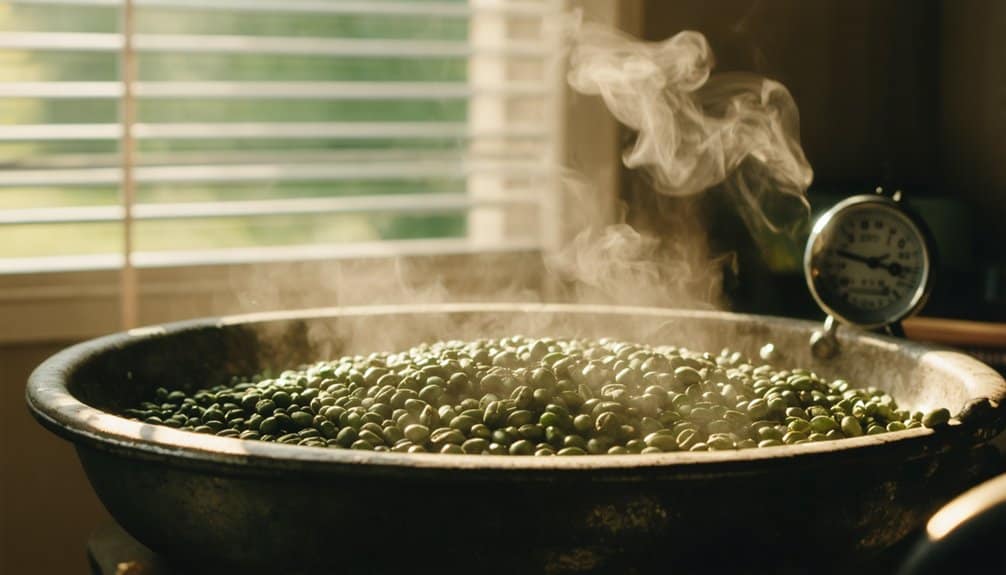
Setting Up Your Coffee Roasting Environment
You'll need to establish a well-ventilated workspace with proper airflow management to handle the smoke and chaff produced during light roasting, ideally with negative pressure ventilation systems. Your roasting area must be equipped with crucial tools including temperature probes, humidity meters, and pressure gauges to monitor and adjust for environmental variables that affect heat transfer efficiency. Set up your temperature control system to maintain consistent ambient conditions, accounting for seasonal fluctuations that can impact your light roast profiles. Higher ambient temperatures will require lower charge temperatures to achieve optimal light roast results.
Proper Ventilation and Space
Setting up a proper coffee roasting environment requires careful consideration of ventilation and workspace dynamics. You'll need to position your roasting setup under a kitchen exhaust hood with the fan running to effectively remove smoke and aromatic compounds.
Choose a location away from direct sunlight to maintain consistent temperatures. Keep all equipment in a safe fire-resistant area to minimize potential hazards during roasting. Install fans strategically to accelerate ventilation and aid in bean cooling. You'll want to spread your beans on a sheet pan post-roast for rapid cooling, which helps preserve your light roast profile. If you're dealing with negative atmospheric pressure, consider using a chaff cyclone to optimize airflow management.
Essential Equipment and Tools
When establishing a light roast operation, the foundational equipment consists of three core components: a reliable roasting machine, cooling apparatus, and precise monitoring tools.
You'll need either a drum roaster like the Hottop Digital or a hot air model such as the Fresh Roast SR540. Each requires cooling trays to halt the roasting process effectively. For monitoring, you'll want thermometers to track temperature curves and color analyzers to guarantee consistent light roast development. A weighing scale helps ensure batch uniformity and repeatable results.
Consider your environment's impact on the process. You'll need to adjust for humidity and atmospheric pressure, so invest in humidity analyzers and maintain proper room temperature control.
Temperature Control Setup
Building on your equipment foundation, proper temperature control forms the backbone of successful light roast coffee production. You'll need to maintain precise temperatures between 180-205°C while managing environmental factors that affect your roast profile. The Maillard reaction phase requires careful monitoring to avoid over-development during light roasting.
To achieve ideal temperature control:
- Preheat your roaster and stabilize environmental conditions, adjusting for humidity and atmospheric pressure
- Monitor internal bean temperature, targeting 350-400°F for light roasts
- Maintain negative pressure and clean chaff filters to guarantee consistent airflow
- Adjust heat application and fan settings based on batch size and roast progression
Fine-tune these elements while monitoring your rate of rise to preserve those delicate, fruity notes characteristic of light roasts.
The First Crack: Identifying Key Temperature Points
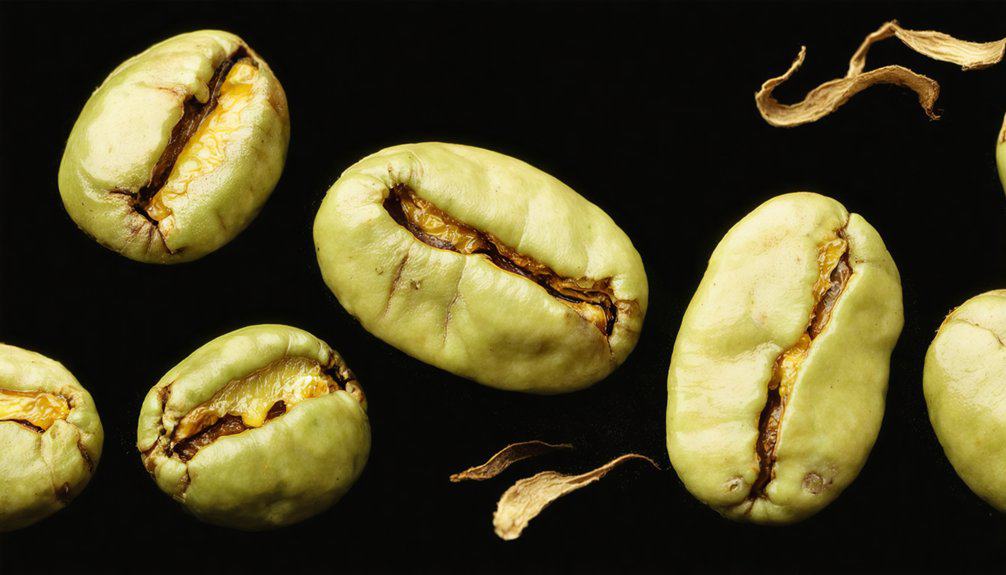
You'll need to closely monitor your roaster's temperature gauge as the beans approach the vital initial crack range of 196°C (385°F). Watch for the beans to change from a pale yellow-green to a light brown color, indicating they're nearing the initial crack phase. When you hear a series of distinct popping sounds, similar to popcorn kernels, you've reached initial crack—a vital moment that signals the shift from the browning phase to the development stage of your light roast. During this stage, your beans will undergo significant moisture evaporation and begin expanding in size.
Temperature Range for Cracking
Understanding the initial crack temperature range is critical for achieving a light roast profile. You'll typically encounter primary crack between 380-390°F (193-198°C), though this can vary based on your specific roaster and beans. You'll want to carefully monitor these key temperature points:
- Starting temperature: 325-400°F (163-204°C)
- Primary crack initiation: 380-390°F (193-198°C)
- Light roast range: 350-400°F (176-204°C)
- Temperature holding point: Just before primary crack
Your roast profile's success depends on maintaining precise temperature control while considering the beans' thermal characteristics and your roaster's environmental temperature. Light roasts require higher brewing temperatures to properly extract their complex flavors. You'll need to adjust heat input as the roast progresses through these stages.
Listen for Popping Sounds
When roasting coffee to a light profile, detecting the primary crack requires acute attention to the distinctive popping sounds that occur around 385°F (196°C). You'll hear sounds similar to breaking tree branches or popping popcorn. Don't be misled by initial stray pops – wait for consecutive, clear cracks in quick succession. This stage marks when trapped water vapor forces its way out of the bean structure.
To improve your listening accuracy, try placing a metal spoon near the sight glass to amplify the sounds, or use earmuffs with rubber tubes. You can also confirm initial crack by checking for jumping beans and noting a sour, vinegar-like aroma through your sample tryer.
Monitor Bean Color Changes
Along with listening for the primary crack, carefully observing bean color changes provides clear indicators of your roast's progression. You'll notice distinct shifts that signal key temperature points leading to your desired light roast. Roasting releases carbon dioxide as beans undergo their transformation, so ensure proper ventilation.
Watch for these critical color stages:
- Yellowish tint emerges around 165°C during the browning phase
- Light brown shade appears at 180-185°C, just before primary crack
- Primary crack occurs at 370°F, marking the City Roast threshold
- Medium brown develops during City Roast, balancing bright and smooth notes
Use your Agtron readings to confirm color consistency, remembering that higher numbers indicate lighter roasts.
Monitoring Color Changes During Light Roasting
Monitoring color changes during coffee roasting provides one of the most reliable visual indicators of roast progression. For a light roast, you'll want to carefully track the shift from green to yellow, and then to a light brown shade. Since lighting conditions can affect your perception, verify you're working with consistent illumination throughout the process. Using a magnifying glass can help you better observe subtle color transitions during roasting. Watch for when 80% of your beans are no longer green, then focus on achieving that desired light brown color before initial crack. You'll know you've reached a proper light roast when the beans are light brown without any surface oils showing.
Mastering Airflow and Heat Control Techniques
To achieve a successful light roast, mastering airflow and heat control is crucial for ideal bean development. You'll need to maintain proper convection heat transfer while avoiding excessive conduction that can cause surface burning. Proper airflow management ensures at least 70% heat transfers through convection in drum roasters.
- Start with a batch size of 50-60% drum capacity to guarantee optimal airflow movement
- Use the lighter test to verify airflow bends 60-90 degrees at the trier hole
- Reduce airflow during the drying stage to build heat effectively
- Increase airflow gradually after initial crack to remove smoke and prevent roasty notes
Remember to adjust your power profile in sync with airflow changes. When charging, turn off heat initially, then reapply it strategically to control your Rate of Rise throughout the roast.
Cooling and Storage Methods for Light Roast Coffee

Proper cooling and storage techniques play a crucial role in preserving the delicate flavors of light roast coffee. You'll need to cool your beans rapidly within 2-3 minutes after roasting, using either air cooling or the freezer method, but never water. Many home roasters use high-powered hair dryers to achieve quick and effective cooling of their beans.
| Storage Duration | Method | Key Requirements |
|---|---|---|
| Short-term | Airtight containers | Dark, cool location |
| Medium-term | Vacuum-sealed bags | Use within 30 days |
| Long-term | Freezer storage | Small portions |
For ideal preservation, store your beans in glass or ceramic containers with one-way valves. When freezing, divide into smaller portions and allow frozen beans to reach room temperature before opening to prevent condensation.
Quality Control and Flavor Profile Assessment
Successful light roast coffee production depends heavily on rigorous quality control measures and systematic flavor assessment protocols. Using specific equipment like the Lighttells photometer and VST Lab Coffee III TDS refractometer, you'll maintain consistent quality standards throughout production. The light to dark levels available in coffee roasting provide different flavor intensities and characteristics.
- Monitor moisture content between 10-12% using a Sinar Bean Pro analyzer
- Check for uniform color distribution with UV light inspection
- Assess TDS measurements for extraction consistency
- Document flavor notes focusing on citrus, floral, and stone fruit characteristics
Your cupping sessions should emphasize light roast's distinctive qualities: bright acidity, complex aromatics, and delicate body. Regular equipment calibration guarantees repeatable results across batches.
Troubleshooting Common Light Roast Challenges

Even with careful quality control measures in place, light roast coffee presents distinct challenges that require specific troubleshooting approaches. You'll need to focus on proper bean development right from the start. If you're noticing underdeveloped centers, increase your charge temperature and guarantee sufficient energy early in the roast.
Watch for uneven roasting caused by chaff buildup – elevate your fan speed and maintain higher heat settings to address this. Consider adjusting your roast to D9 setting for optimal results. When you encounter grassy or vegetal flavors, it's a sign you'll need more energy at the beginning of the roast. Remember, baked flavors can be corrected by steepening your ROR curve.
FAQs
Can I Roast Coffee Beans in a Regular Home Oven?
You can roast coffee beans in a home oven at 250°C, but you'll face challenges with temperature control and uneven heating. Consider using a perforated tray and monitoring the initial crack carefully.
How Long Should I Wait Before Brewing Newly Roasted Coffee?
Did you know 80% of CO2 releases in the initial 24 hours? You'll want to wait 7-10 days for light roasts and 3-5 days for dark roasts before brewing to achieve ideal flavor through proper degassing.
What's the Average Yield Loss Percentage During Light Roasting?
You'll typically experience a 10-12% yield loss during light roasting, as your beans reach internal temperatures of 350-400°F. The loss primarily comes from moisture evaporation in your green coffee.
Do Different Altitudes Affect Light Roasting Time and Temperature Requirements?
Like a mountain climber adapting to thin air, you'll need higher temperatures at raised altitudes. At lower elevations, you'll roast faster with less heat due to denser oxygen and warmer ambient conditions.
Are Specific Types of Green Coffee Beans Better Suited for Light Roasting?
You'll find African and Central American beans, especially Ethiopian Sidamo and Tanzanian Peaberry, are ideal for light roasting due to their bright acidity, delicate floral notes, and complex flavor profiles.
The Bottom Line
Like a skilled conductor leading a symphony to its crescendo, you've learned to orchestrate the delicate dance of light roast coffee creation. You've mastered temperature control, timing, and bean selection with scientific precision. Now you're equipped to transform raw beans into a bright, complex cup that highlights the coffee's inherent characteristics. Remember: light roasting isn't just a process—it's an art form guided by technical expertise.