
You can transform your kitchen into a coffee roasting workshop with basic equipment and proper technique.
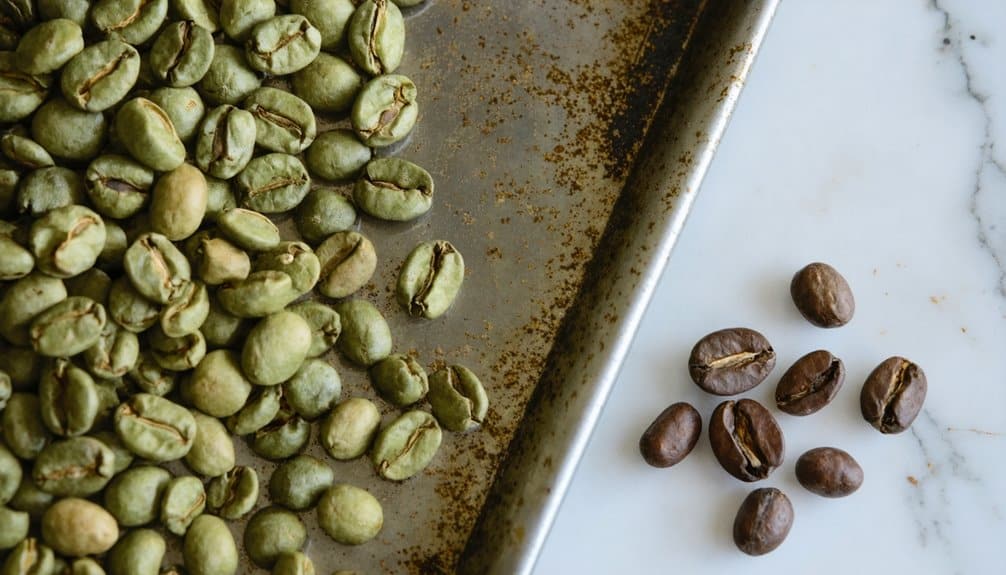
Start with high-quality green beans, focusing on Arabica varieties for their sweet, fruity notes.
Monitor temperature changes using a reliable thermometer, watching for the initial crack at 200-202°C and second crack at 224-226°C.
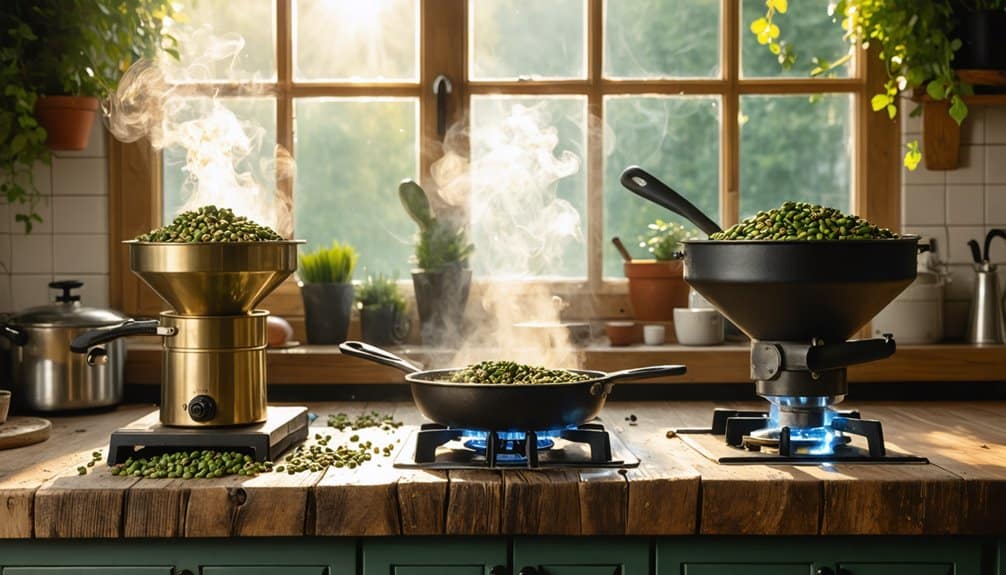
Use a popcorn popper, cast iron skillet, or dedicated roaster while maintaining precise heat control and timing.
Cool beans rapidly within five minutes to preserve flavor, then store in airtight containers.
Understanding these fundamentals will reveal the path to crafting your perfect artisanal roast.
Key Takeaways
- Start with a cast iron skillet or popcorn popper as affordable entry points for home coffee roasting.
- Monitor color changes from green to yellow to brown, listening for distinct “cracks” that signal roasting stages.
- Cool beans rapidly within five minutes using a metal colander or DIY cooling setup to preserve flavor profiles.
- Track temperature and time carefully, aiming for initial crack at 200°C and adjusting heat based on desired roast level.
- Allow roasted beans to rest 12-24 hours before sealing, then store in airtight containers away from light and heat.
Understanding Coffee Bean Basics
When starting your coffee roasting adventure, understanding the fundamental differences between coffee bean varieties is essential.
You’ll encounter four main types: Arabica, Robusta, Liberica, and Excelsa, each with distinct characteristics that’ll influence your roasting approach.
Arabica, accounting for over 60% of global production, offers sweet, fruity notes and thrives in high-altitude tropical climates.
The beans are renowned for their delicate flavors and acidity. You’ll find Robusta more resilient, with higher caffeine content and pronounced bitter notes.
Liberica beans, larger and irregularly shaped, deliver unique woody and floral profiles, while Excelsa contributes complex, tart flavors that add depth to blends.
Each variety responds differently to roasting temperatures and times.
Understanding these distinctions will help you select the right beans and adjust your roasting parameters to achieve your desired flavor profile.
Essential Tools and Equipment
Equipping your home roasting setup requires careful selection of vital tools that directly impact your coffee’s final quality.
As a home roaster, you’ll need to choose between primary roasting methods: popcorn poppers offer an accessible entry point, while dedicated roasters provide superior control.
Cast iron skillets are excellent for their even heat distribution. Your fundamental toolkit must include a reliable thermometer, precise timer, and proper cooling tray.
For consistent results, you’ll want to invest in a quality scale to measure your beans accurately.
If you’re advancing your craft, consider specialized equipment like color analyzers and moisture meters.
Don’t overlook safety equipment – heat-resistant gloves are non-negotiable.
Your choice between hot air or drum roasters will depend on your volume needs and desired level of control over the roasting process.
Choosing Your Roasting Method
Now that you’ve assembled your roasting equipment, selecting the right roasting method will shape your coffee’s final characteristics.
For beginners, we recommend starting with either skillet pan roasting or popcorn popper methods, as they’re accessible and offer good control over the process.
Home roasters typically choose between three main approaches: traditional methods like drum or pan roasting, home-friendly techniques such as oven or air fryer roasting, and modern solutions including fluid bed or infrared roasting.
Each method affects flavor development differently – drum roasting produces consistent results with balanced profiles, while hot air methods create cleaner, brighter tastes.
Regular practice and experience will help you master your chosen method over time.
Consider your batch size requirements and desired flavor profile when selecting your method.
Keep in mind that temperature control and consistent monitoring are essential regardless of your chosen technique.
Temperature and Time Control
You’ll need to master precise heat control curves to achieve consistent roast profiles, with essential checkpoints ranging from the 150-200°C charge temperature through to final roast temperatures exceeding 220°C for darker roasts.
Understanding your roast’s progression involves monitoring key time markers, including the turning point at 45-75 seconds and initial crack, while maintaining appropriate rates of rise throughout the 10-15 minute process.
Successful temperature management requires careful attention to both heat application and airflow adjustments, ensuring your beans develop evenly without scorching or stalling during vital phase shifts.
Recording your roasting outcomes helps maintain roast profile consistency across future batches.
Mastering Heat Rise Curves
Heat rise curves represent the cornerstone of successful coffee roasting, requiring precise control over temperature progression and timing throughout the roasting process.
You’ll need to monitor your beans’ temperature curve as it moves through distinct phases, starting with the initial drop when you charge your beans at 150-200°C.
The Maillard reaction begins when beans reach approximately 150°C, developing essential flavors and aromas.
Watch for your turning point within 45-75 seconds, where temperature begins rising again.
You’ll want to manage your rate of rise (RoR) carefully, adjusting heat application based on your target roast level.
For light roasts, aim for 180-205°C with gentle heat; medium roasts need 190-210°C; and dark roasts require temperatures above 220°C.
Keep your air flow at 10-50% initially, increasing to 50-100% as the roast progresses.
Remember to cool your beans quickly within 4 minutes to halt the roasting process.
Essential Temperature Checkpoints
Mastering precise temperature checkpoints stands as a vital foundation for achieving consistent roasting results.
You’ll need to maintain your preheat temperature between 150-200°C, adjusting based on your batch size and bean type.
Monitor your bean temperature as it rises from 100°C to 200°C over a 15-minute period.
Reducing power to setting P5 at 150°C helps prevent scorching and promotes even development.
Your initial crack should occur between 7-9 minutes for light roasts or 10-11 minutes for darker profiles.
Watch for the significant yellowing phase, which should shift to initial crack in about 3 minutes.
You’ll want to control your Rate of Rise carefully through these stages, starting faster from the Turning Point to yellowing, then deliberately slowing down.
Keep your environmental temperature stable and use your temperature sensors to track both roaster and bean temperatures, making manual adjustments as needed.
Timing Your Perfect Roast
Successfully timing your roast profile requires precise control over both temperature and duration throughout distinct phases.
You’ll need to aim for Initial Crack between 6-9 minutes for light roasts or 10-11 minutes for darker profiles, adjusting your preheat temperatures accordingly.
Recording temperature every 30 seconds helps maintain precise control over your roast progression.
Monitor your rate of rise carefully while gradually increasing heat to prevent underdevelopment or scorching.
You’ll want to track both Initial and Second Crack timing as essential reference points. Base your roast termination decisions on multiple factors: watch the bean temperature rise after Initial Crack, observe color changes, and note aromatic shifts.
If you’re seeing rapid temperature increases post-Initial Crack, you might need to shorten your general roast time.
Keep in mind that proper timing combines several indicators – temperature progression, visual cues, and precise event documentation.
Identifying Roast Level Stages
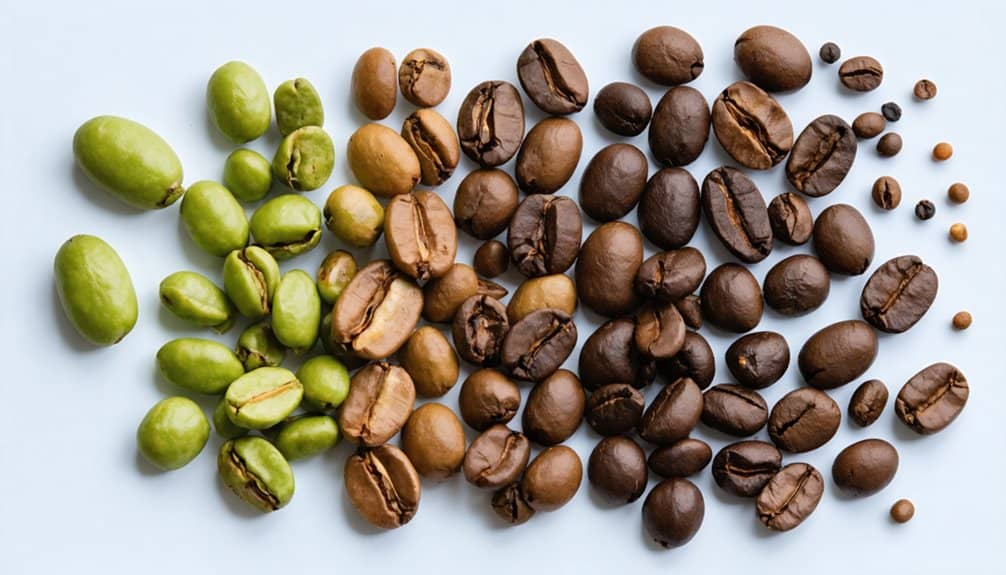
You’ll need to monitor two critical indicators during roasting: the progressive color changes from green to yellow to brown, and the distinctive cracking sounds that mark key temperature thresholds.
The beans’ transformation begins with a pale green, shifts through yellowish tones during the drying phase, and progresses to increasingly darker shades of brown as the roast develops.
Fan-assisted cooling is essential to stop the cooking process and preserve the desired flavor profile.
The initial crack (200-202°C) signals the beginning of proper roast development, while the subsequent crack (224-226°C) indicates the change into darker roast territory.
Visual Color Changes
When roasting coffee beans, understanding the visual color progression serves as an essential skill for achieving desired roast levels.
You’ll observe beans changing from green to yellow during the initial drying phase, signaling the start of the vital Maillard reaction.
Proper lighting setup is crucial for accurate color assessment.
As you progress through the roast, you’ll notice the beans developing through distinct stages: light tan, medium brown, and darker shades.
The initial crack marks a significant moment when beans expand and release gases. For darker roasts, you’ll see oils emerging on the surface as you approach the second crack.
Remember that lighting conditions can affect your perception, so don’t rely solely on visual cues. Instead, combine your color observations with temperature readings, aromatics, and crack sounds to precisely determine your roast level.
This multi-sensory approach guarantees more consistent results.
Sound Cues During Roasting
Two distinct sound events, known as primary and secondary crack, serve as critical auditory markers during the coffee roasting process.
You’ll hear the initial crack between 180-205°C, sounding like popcorn, while the second crack occurs around 230°C, resembling Rice Krispies in milk. Initial crack produces louder, lower-frequency sounds, while second crack delivers faster, higher-pitched pops.
Sound monitoring is increasingly used in automated roasting systems to track and control roasting parameters effectively.
| Sound Characteristic | Initial Crack | Second Crack |
|---|---|---|
| Temperature Range | 180-205°C | 230°C |
| Sound Quality | Like popcorn | Like cereal |
| Frequency Pattern | Slow, loud | Fast, soft |
To master these cues, you’ll want to listen carefully as the beans progress through these stages.
The timing between these cracks helps you determine your desired roast level, with light roasts ending soon after initial crack and darker roasts extending into second crack.
Cooling and Storage Techniques
After completing your roast, proper cooling and storage techniques become critical factors in preserving the quality of your freshly roasted coffee beans.
You’ll need to cool your beans rapidly within five minutes using either air cooling or water quenching methods.
While air cooling maintains lower moisture content and longer staling time, water quenching can help retain aromas but adds moisture.
A modified popcorn maker can create an effective cooling system when the heating elements are removed.
For DIY cooling, you can use modified air poppers, metal colanders, or baking sheets with directed fan airflow.
Once cooled, let your beans rest for 12 hours to release CO2 before sealing them in an airtight container.
You’ll find your coffee reaches peak flavor between 24-72 hours post-roast.
Store your beans in a cool, dry place, away from direct sunlight to maintain their freshness and quality.
FAQs
How Long Should I Wait After Roasting Before Grinding and Brewing Coffee?
You’ll need to wait 72 hours minimum for ideal flavor, though light roasts require 5-7 days and dark roasts need 1-3 days. Always store your beans in airtight containers meanwhile.
Can Different Types of Green Coffee Beans Be Roasted Together?
You can roast different beans together, but they’ll dance to their own rhythm. Be mindful that varying densities and moisture levels mean they’ll roast at different rates, potentially affecting your blend’s consistency.
What Causes Coffee Beans to Make Popping Sounds During Roasting?
You’ll hear beans pop when internal moisture converts to steam (first crack) and when carbon dioxide breaks through the brittle bean structure (second crack) during specific temperature thresholds.
Is It Normal for Coffee Beans to Lose Weight During Roasting?
Like autumn leaves shedding their summer weight, you’ll find it’s completely normal for your coffee beans to lose 14-20% of their mass during roasting through moisture evaporation and CO2 release.
How Can I Eliminate Smoke When Roasting Coffee Indoors?
You’ll need proper ventilation: install a powered vent hood, use an Avirnaki filter, or create a DIY system with inline fans. Direct outdoor venting through windows reduces indoor smoke accumulation.
The Bottom Line
You’re now equipped to transform raw beans into liquid gold right from your kitchen laboratory.
Like a skilled conductor orchestrating precise movements, you’ll control time and temperature to reveal the bean’s hidden potential.
With your newfound knowledge of roasting stages, crucial equipment, and cooling protocols, you’ve joined the ranks of home roasting artisans who understand that precision creates perfection.
Let your systematic approach guide each batch’s path from green to peak roast.