To deep clean your espresso machine like a pro barista, you’ll need specialized cleaning solutions, tablets, and brushes for different components.
Start with daily maintenance by wiping the portafilter and group head after each shot, purging the steam wand, and cleaning the drip tray.
Perform weekly backflushing by inserting a blank basket with cleaner, running the pump in cycles until clear foam appears.
Don’t forget to clean hard-to-reach areas using proper tools and techniques.
Professional baristas maintain their machines every 200 shots – this thorough approach guarantees peak flavor and extends your equipment’s lifespan.
Mastering these techniques will transform your home coffee experience.
Key Takeaways
- Disassemble removable parts including portafilter, baskets, and drip tray, then soak them in specialized espresso machine cleaner solution.
- Perform thorough backflushing with cleaning powder using a blank portafilter basket, repeating cycles until clear water emerges.
- Clean the steam wand thoroughly by soaking the tip in dairy cleanser and purging it multiple times.
- Use a group head brush to remove coffee residue from shower screen and gasket, ensuring all holes are clear.
- Wipe exterior surfaces with microfiber cloth and reassemble all components, following proper safety protocols for electrical components.
Essential Tools and Materials

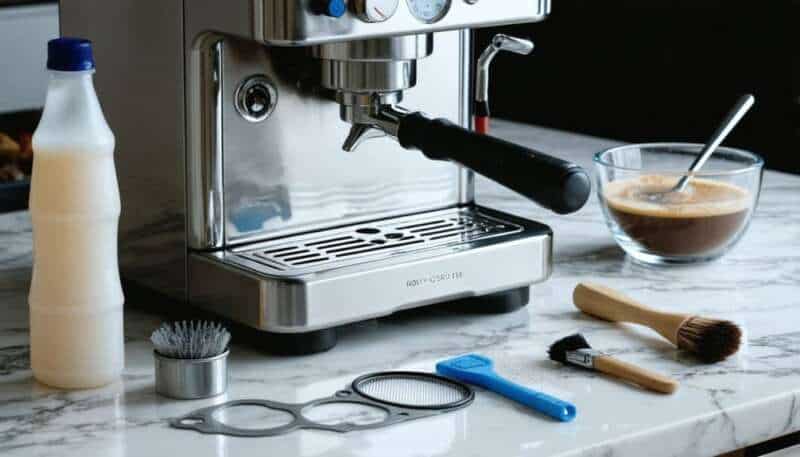
Every successful deep cleaning of an espresso machine starts with assembling the right tools and materials.
You’ll need specialized cleaning solutions, including espresso machine cleaner for backflushing, dedicated cleaning powder, and dairy cleanser for your steam wand.
A typical package of cleaning tablets contains 100 tablets per box.
Your toolkit should include different brushes: a group head brush, steam wand brush, and coffee grinder brush.
Don’t forget crucial tools like a blank portafilter basket for backflushing and a flathead screwdriver for accessing hard-to-reach areas.
You’ll also want to have microfiber cloths, green scrubby pads, and a deep container for soaking parts.
For thorough maintenance, keep Grindz cleaner on hand for your grinder and phosphate-free cleaning solutions that’ll protect your machine’s components while ensuring ideal cleanliness.
Dismantling Your Espresso Machine
The safe dismantling of your espresso machine requires a systematic approach and careful attention to detail.
Before you begin, confirm your machine is turned off and unplugged to prevent any electrical hazards.
You’ll want to remove all detachable components like the water tank and capsule support to access the internal parts.
Essential coffee oils can make components stick together, so be patient when separating parts.
Heavy-duty construction in machines like the Gaggia Classic means parts may require extra care during disassembly.
Using your Phillips screwdriver or T20 torque bit, carefully disassemble the machine while paying attention to clips and tabs that may need releasing.
As you work through the group head, remember to let the machine cool completely to avoid burns.
Remove screens and diffusers by unscrewing the appropriate fasteners, being mindful of temperature probes and sensitive components.
Store all parts in a secure location as you work, and document your steps to guarantee proper reassembly later.
Daily Cleaning Routine

While proper disassembly helps with deep cleaning, maintaining your espresso machine starts with a consistent daily routine.
Regular cleaning assessments based on water hardness and usage will help determine if you need more frequent cleaning.
You’ll want to develop good habits that prevent buildup and guarantee your machine delivers the best possible espresso every time.
Your daily cleaning checklist should include:
- Wipe your portafilter and group head with a damp cloth after each shot, and use a group head brush to remove lingering coffee oils
- Purge and wipe down the steam wand immediately after steaming milk to prevent milk proteins from hardening
- Empty and rinse the drip tray at the end of your coffee-making session
- Give the machine’s exterior a thorough wipe-down with a damp cloth before putting it away
These simple steps will keep your machine running smoothly and extend its lifespan considerably.
Backflushing Process
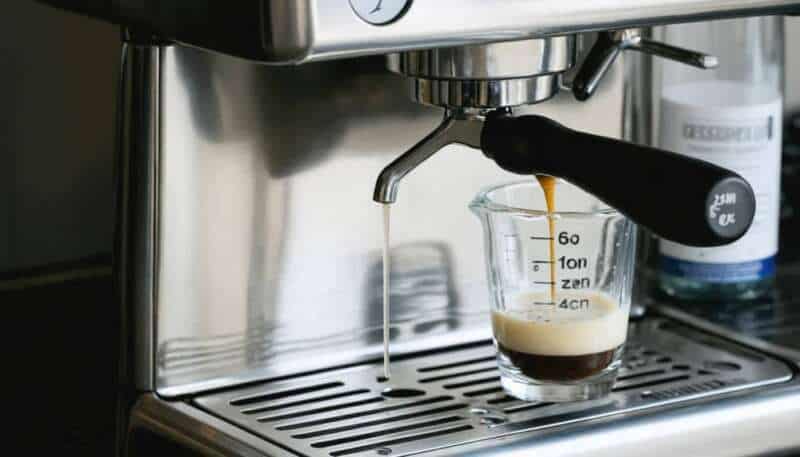
Maintaining ideal performance of your espresso machine requires regular backflushing – a critical cleaning process that removes coffee oils and residue from the brew group, shower screen, and three-way valve.
To backflush, insert a blank basket into your portafilter and add about 0.5 teaspoons of espresso machine cleaner.
Lock the portafilter in place and run the pump for 10-20 seconds. You’ll need to repeat this process until you see clean foam in the drip tray.
High-pressure streams from the shower screen are a clear sign that backflushing is needed.
Once the initial backflush is complete, remove the portafilter and rinse it thoroughly. Then perform several water-only backflushes to clear any remaining cleaner.
Ultimately, run the brew group for 30 seconds without the portafilter. Remember to backflush your home machine weekly, or after every 200 shots.
Descaling Your Machine

Regular backflushing works hand-in-hand with another key maintenance task: descaling your espresso machine.
This vital process removes mineral buildup that can affect your coffee’s taste and potentially damage your machine’s internal components.
Pay attention to warning signs like decreased brewing speed and bitter coffee taste that indicate descaling is needed.
In areas with hard water, you’ll need to descale every 2-3 months, while soft water regions can extend this to 3-4 months.
Here’s your important descaling process:
- Heat your machine to operational pressure, then discharge water from the tank
- Mix your descaling solution according to manufacturer instructions and add to the water tank
- Run the solution through your machine’s system
- Thoroughly rinse by running clean water through multiple times
You can use citric acid, commercial descalers, or vinegar, though specialized descaling products typically work best for maintaining ideal machine performance.
Steam Wand Maintenance
You’ll need to clean your espresso machine’s steam wand after each use to prevent milk from crusting and clogging the steam holes.
Start by purging the wand immediately after steaming milk, then wipe it thoroughly with a damp microfiber cloth while it’s still warm.
Daily maintenance should also include running the automatic purge feature if your machine has one, or manually purging the wand by opening the steam valve for a few seconds.
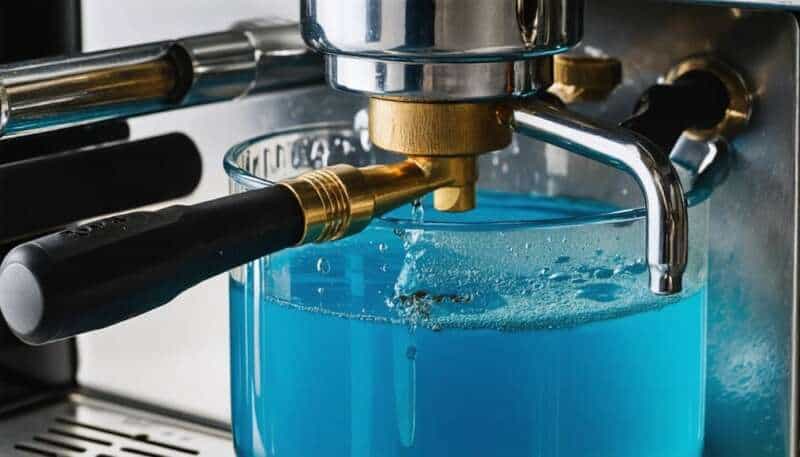
Every few months, remove and soak the steam wand tip in a detergent solution for deep cleaning.
Daily Wand Cleaning Steps
Proper daily steam wand cleaning stands as a crucial defense against milk buildup and bacterial growth in your espresso machine.
You’ll need to maintain a consistent cleaning routine to guarantee peak performance and prevent cross-contamination between different milk types.
Both manual and automatic wands require regular pivot maintenance to ensure smooth operation.
Follow these critical daily steps for your steam wand:
- Purge the wand immediately after each use by opening the valve for a few seconds to clear milk residue.
- Wipe the wand thoroughly with a damp cloth to remove any milk splashes or droplets.
- Fill a pitcher with water and flush the system for 10 seconds, repeating four times.
- Soak the wand tip in warm water with specialized cleaning solution or mild dish soap for at least 20 minutes.
Remember to use only appropriate cleaning solutions and brushes designed for steam wands to protect your equipment’s no-burn tubes.
Preventing Milk Crust Formation
Building on the daily cleaning routine, preventing milk crust formation requires a strategic approach to steam wand maintenance.
You’ll want to establish a proactive cleaning rhythm that starts before and ends after each use.
Purge your steam wand for a few seconds before steaming milk, and immediately after you’re done, purge it again to clear any residual milk.
Don’t let milk residue sit on your wand – wipe it with a damp cloth after every use.
Using a wet cloth barrier helps prevent milk from baking onto the surface.
When steaming, avoid dipping the wand too deeply into the milk, as this can cause unnecessary buildup.
If you notice any stubborn residue, use a steam wand brush to clean the inside thoroughly.
For extra protection, run hot water through the wand periodically throughout your brewing session to prevent milk from hardening.
Cleaning Hard-to-Reach Areas

Many hard-to-reach areas in espresso machines require special attention during deep cleaning to prevent coffee residue and scale buildup from affecting drink quality.
You’ll need specialized tools like a group head brush, blank portafilter basket, and cleaning solutions to access these challenging spots effectively.
Regular maintenance with proper equipment is crucial since improper water conditions can lead to limescale buildup and clogged lines.
Start your deep cleaning process with these crucial steps:
- Remove and disassemble the portafilter, then soak components in cleaning solution
- Perform backflushing with a blank basket and cleaning powder, cycling five times
- Remove and clean the shower screen, ensuring all holes are clear of debris
- Use a dedicated steam wand brush with dairy cleanser to remove milk residue
Don’t forget to regularly clean behind the group head gasket and inside the portafilter spouts using a multi-use coffee tool or flathead screwdriver for thorough maintenance.
Proper Reassembly Steps
After completing the deep cleaning process, reassembling your espresso machine correctly is vital for ideal performance and safety.
Start by securing the tank to the frame and installing the pump with its piping connections.
The tank requires careful inspection of flange angles and seals. You’ll want to follow your disassembly photos closely, as they’re your best guide for proper reconstruction.
Connect all piping to crucial components: the brew group, hot water outlet, and steam wand.
Install the safety and anti-vacuum valves, then mount the manometers. When handling electrical components, verify each connection is secure and properly insulated.
Test the thermostat and pressure sensor before proceeding.
Finally, reassemble the brew group with fresh gaskets, attach the reservoir, and run a thorough pressure test.
Don’t rush this process – proper reassembly guarantees your machine will operate safely and efficiently.
FAQs
How Often Should I Replace the Gaskets in My Espresso Machine?
Did you know 90% of baristas recommend quarterly gasket changes? You’ll need to replace your espresso machine’s gaskets every 3 months for high usage, or twice yearly for lower volume brewing.
Can I Use Regular Dish Soap to Clean My Espresso Machine?
You shouldn’t use regular dish soap in your espresso machine, though you can clean removable parts with it. Instead, use specialized espresso cleaning solutions to prevent soapy residue affecting your coffee’s taste.
What Causes the Metallic Taste in My Espresso Shots?
Your espresso’s metallic taste can stem from limescale buildup, dirty equipment, poor water quality, or over-extraction. You’ll want to descale regularly, use filtered water, and maintain proper extraction times.
Should I Clean My Espresso Machine While It’s Hot or Cold?
You’ll get the best cleaning results when your machine is hot. Heat helps dissolve oils and residues more effectively, making your cleaning routine more thorough. Don’t forget to follow your manufacturer’s safety guidelines.
How Do I Know if My Espresso Machine Needs Professional Servicing?
You’ll need professional servicing if you notice inconsistent shots, unusual noises, persistent leaks, steam wand problems, or scale buildup that regular maintenance can’t fix. Don’t ignore these warning signs.
The Bottom Line
You’ve mastered the crucial techniques that keep your espresso maker performing at its peak.
While these cleaning steps may seem demanding, they’re your gateway to consistently exceptional coffee.
Remember: every meticulous wipe, flush, and descale isn’t just about maintenance – it’s about preserving the heart of your morning ritual.
Now you’re ready to pull shots like a pro, one pristine extraction at a time.