Very few people actually enjoy cleaning, especially when it comes to intricate machines like coffee machines. It can be a really frustrating process trying to clean old coffee grounds and splashes of milk from all the nooks and crannies in your Breville espresso machine.
However, it’s a job that needs doing and you can often taste the difference in your coffee afterward, so it’s worth it for that too.
What’s more, imagine paying out a lot of money for it to fall into disrepair because it hasn’t been maintained and cleaned properly – that would be a travesty!
So, if you want your Breville espresso machine to churn out delicious coffee cup after cup, you’ve got to look after it.
How Often Should You Clean Your Breville Espresso Machine?
There are two levels of cleaning when it comes to taking care of your espresso machine. The first is the daily clean-up to make sure you mop up any spills and wipe all the surfaces. Then there’s a deep clean, which involves giving all of the espresso machine components a thorough clean.
If you don’t know when to do this, Breville espresso machines have a useful indicator light to tell you when you need to do a deep clean.

Even if you dread seeing this light, it’s important that you don’t ignore it as it could affect the functioning of your machine.
What’s more, it’ll make machine cleaning easier because it’ll be done more frequently too and thus won’t get so dirty that it’s a chore to clean.
Equipment Needed to Clean Your Breville Espresso Machine.
Thankfully, there aren’t that many things needed to clean your machine. The following list is all you’ll need to get your coffee machine to be as good as new:
- A pin-cleaning tool
- A brush (soft bristles)
- A nylon brush (hard bristles)
- Cleaning tablets
- Allen wrench
- A cleaning disk
- A soft towel or cloth
- A pot or bowl
The majority of espresso machines will come with a cleaning disk, some cleaning tablets, and a brush already, so you’ll only need to find a nylon brush, cloth, and bowl.
Everyday Maintenance of Your Breville Espresso Machine.
Before talking about how to do a deep clean of your Breville espresso machine, there are some everyday maintenance tips to make your regular machine cleaning even more of a breeze.
Following these tips every time you make coffee will help to keep your espresso machine in excellent condition.
Drip Tray.
Each time you make a coffee, check your machine’s drip tray and empty it. This will only take a matter of seconds but makes it much less grim when it comes to doing a deep clean.
If there’s been a big spillage, you might want to rinse your drip tray with water.
Steam Wand.
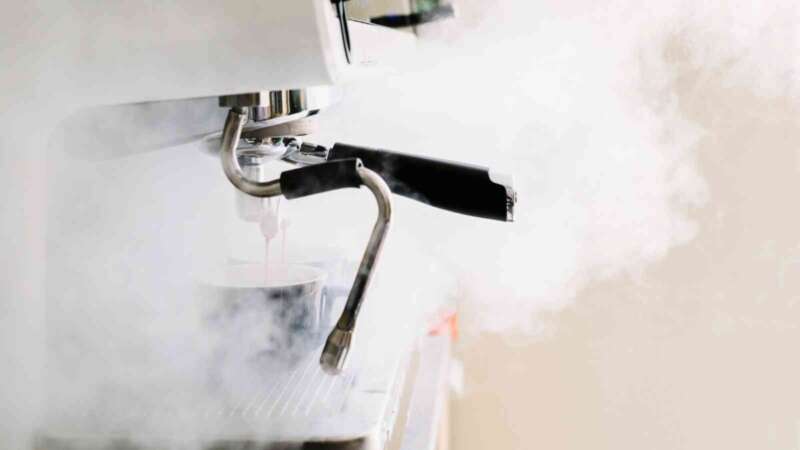
Your Steam wand can be problematic to clean but they don’t have to be! If you’ve ever watched a barista make a coffee in a coffee shop, you’ll have seen them let out some steam after removing the milk jug.
This is excellent practice to make sure the steam wand line is free of residual milk, which is especially important if you’ve got someone in your house who doesn’t drink dairy!

Also, as the wand is cooling, use a soft cloth to wipe around the outside thoroughly to remove any milk residue.
Always use the cleaning tool that was supplied with your Breville machine to ensure there aren’t any blockages too.
Filter Basket.
Your last daily maintenance task is to clean your filter basket. Simply tap this over the garbage can to remove any remaining coffee grounds and then clean it thoroughly with soap and water. Be sure to rinse off any suds so your coffee doesn’t taste soapy the next morning!
All in all, these daily machine maintenance tasks only take a few minutes, but they’ll certainly save you a lot of time further down the line during your deep clean – and they’ll also keep your machine making great coffee for a long time to come!
Deep Clean Your Breville Espresso Machine.
Alongside regular cleaning, your Breville machine will need a deep clean every 4 to 8 weeks. If you use your machine a lot, you’ll need to clean it more regularly than if you use it on odd occasions.
If you think you won’t remember when to clean it and want to get into a routine of doing so without waiting for the light to come on, pick a date each month and stick to it.
For example, always set yourself time to clean the machine on the first Sunday of each month.
Group Head Cleaning.
This is where the business happens and is the part that requires the most attention. Your Breville espresso machine group head can encounter problems with blockages and build-ups so cleaning it is important.
The cleanliness of your group head will affect the taste of your coffee so make sure you spend a good amount of time getting this part of your machine like new!

To start with, attach your Breville espresso machine’s portafilter and run a brewing cycle just with water. When the water exits your machine, observe the color.
If the water is coffee-colored, it means there are residual used coffee grounds inside the group head. If it’s clear, there isn’t.
Once you’ve run this water cycle, use the pin tool that was supplied with your Breville machine to clean the filter holes carefully.
This task is a bit painstaking but it’s certainly worth it for the satisfaction of having a pristine machine and a delicious coffee afterward!
You’ll be surprised just how drastic the process of clearing out an old coffee can have on the taste of your next cup.
Water Filter Cleaning.
There is a water filter inside each Breville espresso machine. These filters need to be changed every 6 to 8 weeks, just like the ones in a refrigerator.
If it suddenly dawns on you when you’re reading this that you’ve never changed your Breville espresso machine water filter, then you really need to!
An old filter will be much less effective and purifying the water to make your coffee. What’s more, old filters can grow bacteria and mold, so your coffee won’t taste as nice. Plus, it could even be unsafe!
Grinder Cleaning.
If you have a grinder attached to your Breville espresso machine, then this will also need to be cleaned during your monthly deep clean.
A grinder is typically low maintenance. All you need to do is remove as much old coffee and coffee dust as possible from the burrs. Never use water or soap on them as they’ll rust!
Bean Hopper.
If your machine has a bean hopper then you’ll probably want to also clean this out when you do a deep clean.
It’s best to use a soft brush to do this.
The coffee beans will leave a coffee residue over time, so it’s best to keep a handle on this before it becomes an issue.

Use a Cleaning Tablet and Disk.
Once you’ve followed all of the previous steps, it’s now time to run your machine’s cleaning cycle program using the cleaning tablets and cleaning disk supplied with your purchase. This is a simple cleaning process and will only take a matter of minutes.
Place the cleaning disk into the one-cup coffee filter and put a cleaning table in the middle of it. Then, attach your portafilter to the machine as if you were making an espresso.
Press and hold down your power button, then simultaneously the one-cup and two-cup buttons. You should hold them until you see the light flash to show your cleaning cycle has begun.
After the cleaning cycle, make sure you brew plain water so that you can remove any cleaning solution remaining in your machine. Failing to do this might mean your next coffees have a strange taste.

Another Cleaning Hack to Try.
If you live in a hard water area, you might have trouble will limescale build-ups. These are both problematic for the quality of coffee as well as preventing clogging problems.
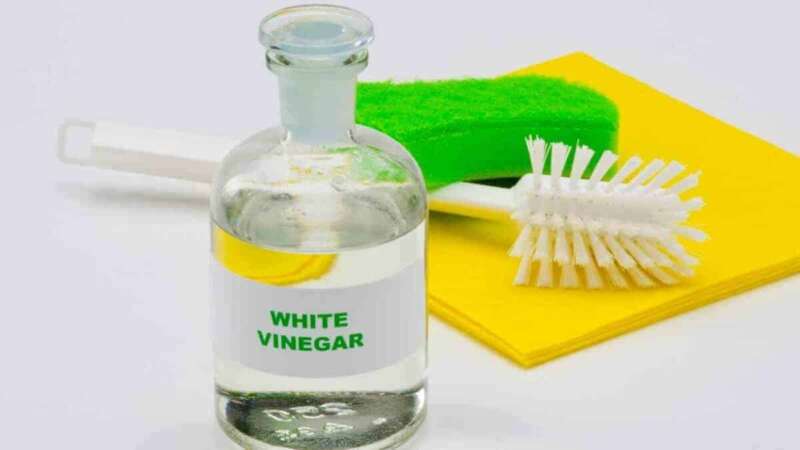
Decalcifying is straightforward and low in cost. If you want to give this a try, you’ll need white vinegar.
How to Decalcify Your Breville Espresso Machine.
- Empty the water tank then pour equal amounts of water and white vinegar right to the MAX line.
- Remove your filter and place a jug under both the steam wand and the group head.
- Turn on the machine.
- When optimum brewing temperature is reached, do a manual pour.
- After the water tank has emptied, set the machine to hot water, and allow the solution to flow through for half a minute before you empty the jug.
- Turn the machine on standby.
- Turn the machine to steam and let the solution run through for around two minutes.
- Turn the machine on standby again.
- Remove the water tank and rinse it out thoroughly.
- Fill the water tank with cold water and then do another manual pour.
- Turn on the steam and hot water to flush out the vinegar and water solution.
Final Thoughts.
Even if you hate cleaning your machine, you’ll hate it breaking or producing awful coffee even more!
With daily maintenance and regular deep cleans, your Breville espresso machine will give you years of life.
Less than five minutes each day and around half an hour per month for a deep clean is all it takes to keep your Breville espresso machine in top working order.
By following the daily maintenance and deep cleaning steps in this article, you’ll continue to serve great-tasting coffee and won’t dread the deep cleans because you will always be on top of it!