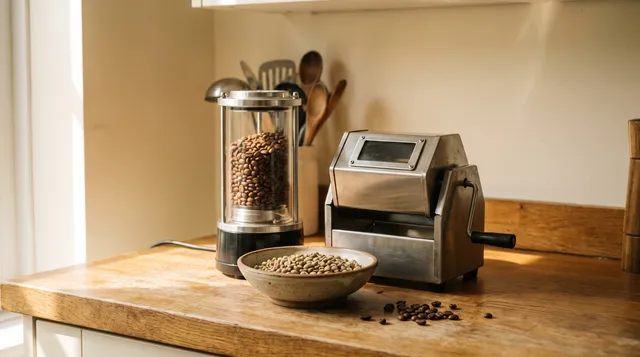
To roast coffee beans at home, heat green coffee to about 400°F (204°C), keep the beans moving, and stop once they reach the color you want. When you hear first crack, a popping sound, the coffee is drinkable. A hot-air popcorn popper gets you there in 3 to 7 minutes.
I don’t roast at home. My coffee comes out of a Nespresso Vertuo. The methods, times and temperatures here come from roasting books, appliance manuals and published research, each linked where it’s used.
The method table comes first, then the steps that apply to every method, then what changes from one method to the next.
Which roasting method should you use?
Every home method does the same three jobs: heat the beans, keep them moving, and let you stop on time. They differ in how much they roast, how fast, and how much smoke ends up in your kitchen.
| Method | Batch (green beans) | Heat | First crack | Total time | Smoke |
|---|---|---|---|---|---|
| Hot-air popcorn popper | About ½ cup | Its own, just under 500°F | About 3 min | 3-7 min | Lots. Roast outside or under a hood |
| Skillet or stovetop popper | Up to 9 oz | Medium | About 5 min | 10-20 min | Lots |
| Oven | One layer on a perforated pan | 500°F | About 7 min | A minute or two past first crack | Lots, and the roast is uneven |
| Air fryer | One layer | Its highest setting | Only if it gets hot enough | Watch, don’t time | Vent it like the others |
| Home coffee roaster | 3 oz to 1 lb | Built in | Depends on the model | Under 10 to 18 min | Depends on the model |
The popper figures come from America’s Test Kitchen. The skillet and oven figures come from Food Republic’s side-by-side test, and the 10 to 20 minutes for hand roasting from The Home Barista.
Start with a hot-air popper if you want to try it for the price of a popcorn maker. Buy a roaster once you know you’ll keep going. Our best home coffee roasters start at $219 and roast 3 oz to 1 lb at a time.
What you need before you start
Not much, and most of it is already in your kitchen.
- Green coffee. Unroasted beans. They look pale green and smell like grass, not coffee.
- A kitchen scale. Weigh every batch so you can repeat the ones you like.
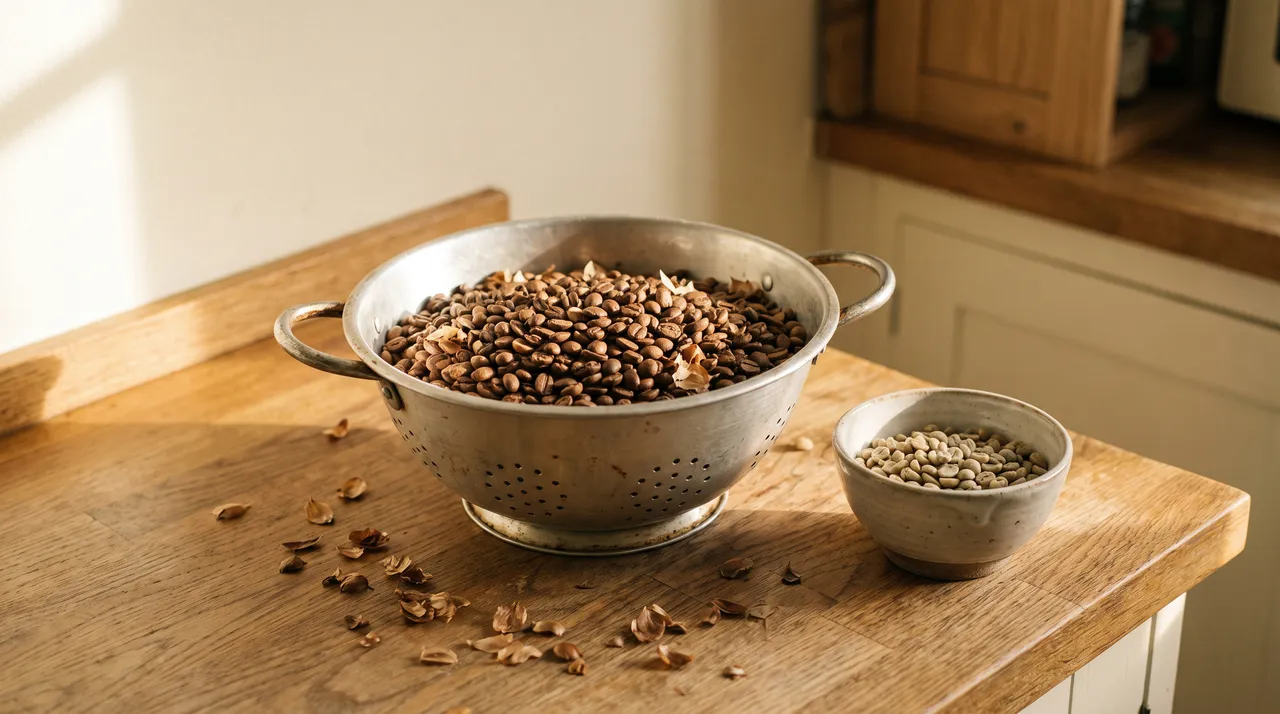
- A metal colander. For cooling the beans and shaking off chaff.
- An oven mitt. The beans come out at 400°F or hotter.
- A timer. Note when first crack starts and when you stop.
- Somewhere for the smoke to go. A range hood on high, an open window, or the back porch.
Where to buy green coffee beans
Online, from home-roast suppliers that sell 1 lb bags. At Sweet Maria’s, one of the biggest US suppliers, most 1 lb bags ran $9 to $10 when I checked in November 2026.
Start with a sampler of three or four origins, so you learn what the roast does to different beans. Origin matters as much as roast level, and our map of where the beans are grown is a good place to choose your first ones.
How to roast coffee beans, step by step
The steps are the same whatever you roast in. Only the heat source changes.
- Set up first. Turn the hood on, open a window and put the colander next to you. Once the beans are going, you won’t have a free hand.
- Weigh the batch. Use the method table. Smaller batches roast more evenly, so start at the low end.
- Heat the beans and keep them moving. Beans that sit still scorch on the side touching the heat.
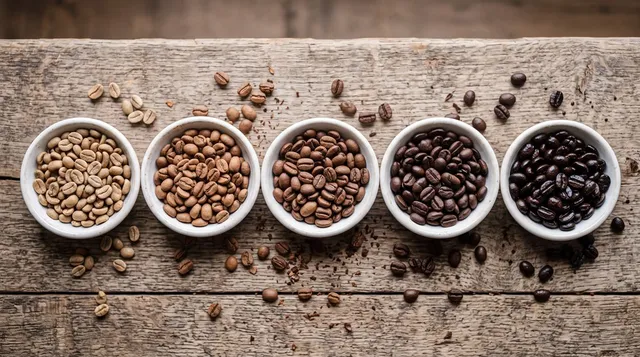
- Watch the color. Green turns to straw yellow and the beans pick up a cereal smell. Then they go tan and start to smell toasty.
- Listen for first crack. A loud pop, like popcorn. That’s steam breaking the bean open, and it’s the earliest point the beans count as coffee. Here’s what first crack sounds like and what to do when it starts.
- Decide when to stop. Just after first crack for a light roast. Between the cracks for medium. At the start of second crack, a faster, quieter crackle, for dark.
- Cool them fast. Tip the beans into the colander and toss them until they’re just warm.
- Shake off the chaff and let them rest. More on both below.
Stop a little before the color you want. The beans keep roasting until they cool down.
What happens to the beans as they roast
You don’t need a thermometer to roast, but it helps to know what the colors and sounds mean. These figures match our roast chart.
| Stage | What you see | What you hear or smell | About |
|---|---|---|---|
| Drying | Green turns to straw yellow | Grassy, then cereal-like | Up to 320°F |
| Browning | Yellow turns to tan, then light brown | Bread, toast | 320-383°F |
| First crack | Beans swell and split | Loud pops, like popcorn | 385-396°F |
| Development | Brown deepens | First crack tapers off | 1-3 min after first crack |
| Second crack | Oil starts to show | Fast, quiet crackle | 435-439°F |
For the full breakdown of color, oil and flavor at every level, see our coffee roast chart.
Method by method
Here’s what changes from one method to the next.
How to roast coffee beans in a popcorn popper
Yes, you can use a popcorn popper to roast coffee beans, and it’s the easiest cheap way to start. It has to be the right kind, though.
Use a hot-air popper whose hot air comes in through slots in the chamber wall. The Home Barista says to skip any popper where the hot air comes up from the bottom of the chamber.
- Put about ½ cup of green beans in the chamber.
- Turn it on and set a timer.
- First crack comes at about 3 minutes and second crack at about 6, according to America’s Test Kitchen.
- Tip the beans into the colander when they reach your color.
What goes wrong: the popper isn’t built for this. Presto’s own manual says not to use it for anything other than its intended use, and warns that a plugged-in popper should never be left unattended. Its one-year warranty doesn’t cover misuse. You’re using the popper off-label, so stay with it the whole time.
How to roast coffee beans in a skillet or on the stove
- Heat a large skillet, cast iron if you have it, over medium heat.
- Add the beans and stir constantly. Food Republic’s test used 9 oz in a big pan.
- Expect first crack at about 5 minutes. A full roast takes 10 to 20 minutes by hand.
- Pour the beans into the colander a little before they reach your color.
A stovetop popcorn popper with a crank handle works the same way, and the crank does the stirring for you.
What goes wrong: stop stirring for a minute and you get beans that are scorched outside and raw inside.
How to roast coffee beans in the oven
- Heat the oven to 500°F.
- Spread the beans in one layer on a perforated pan, so hot air reaches them from below.
- Expect first crack at about 7 minutes. Shake the pan once along the way.
- Pull the beans out shortly after the cracking starts.
What goes wrong: this is the least even method here. Food Republic found oven-roasted beans came out “somewhat smoky and unevenly roasted,” because the beans don’t move.
Can you roast coffee beans in an air fryer?
Yes, for light roasts, and only if yours gets hot enough. First crack starts at 385°F. Check your manual for the air fryer’s top temperature. If it tops out around 400°F, you’ll reach first crack but not much past it.
- Set the air fryer to its highest temperature.
- Use a single layer of beans in the basket.
- Shake the basket every couple of minutes, and watch the color rather than the clock.
Clean the basket well afterward, unless you want fries that taste like coffee.
Roasting in a home coffee roaster
A roaster does the hard parts for you: it controls the heat, keeps the beans moving, collects the chaff and runs a cooling cycle. The ones on our list roast 3 oz to 1 lb per batch. Most finish in under 10 minutes, and the longest, a full pound in the Behmor, takes about 18.
It’s the step up once you know you like roasting. The comparison table above links to our picks.
How to cool coffee beans and get rid of chaff
The beans come out at 400°F or hotter, and they keep roasting until they cool. Fast cooling is how you stop where you meant to.
America’s Test Kitchen chills a metal colander in the freezer, tips the hot beans in, and tosses them until they’re just warm to the touch. Do it outside or over the sink.
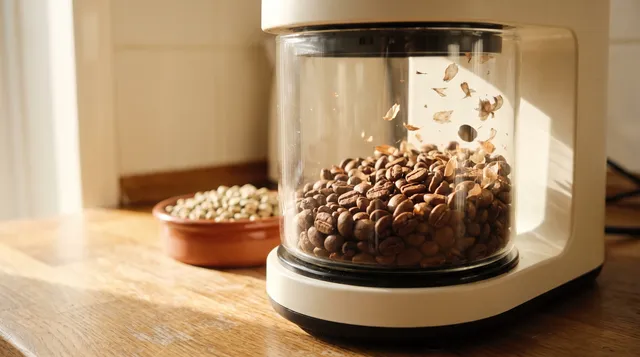
Tossing also gets rid of the chaff, the papery skin that comes off the beans as they roast. It’s light, flaky and gets everywhere. Outdoors, a breeze carries most of it away. A few flakes left on the beans won’t hurt the coffee.
Have the colander ready before you start. If you hunt for it once first crack starts, you’ll overshoot your roast.
How to roast evenly, with less smoke
Uneven roasts are the most common complaint from new roasters. Most of the fixes are simple.
- Roast smaller batches. Fewer beans means each one gets the same heat.
- Keep the beans moving. In a skillet, never stop stirring. In the oven, shake the pan.
- Roast one coffee at a time. Beans of different size and density roast at different speeds, so a mixed batch comes out mixed.
- Expect more smoke the darker you go. Smoke builds as you push toward second crack. Lighter roasts are easier on your kitchen.
- Vent the smoke rather than trying to hide it. Use the range hood on high, an open window or the back porch. America’s Test Kitchen calls proper ventilation essential.
- Want to roast indoors without the smoke? Then you need a roaster built for it, such as the Behmor 2000AB Plus, which has smoke suppression.
Common home roasting mistakes
- Rushing the drying phase. Too much heat early gives you beans that are dark outside and grassy inside, even if first crack comes on time.
- Stopping too late. The beans coast after you take them off the heat. Pull them a shade early.
- Overfilling the popper. Presto caps its popper at a level ½ cup of popcorn, and America’s Test Kitchen’s coffee batch is the same. Stick to it.
- Roasting next to a smoke alarm. Move the roast or the alarm before you start, not halfway through.
- Sealing the beans too soon. Fresh beans release gas. Leave them open for 12 hours first.
- Walking away from the heat. Coffee beans can catch fire, which is why Behmor tells owners of its own roaster to stay with it the whole time. That goes double for a popper or a pan.
How long to rest roasted beans before brewing
Leave freshly roasted beans uncovered for at least 12 hours before you seal them in a container. America’s Test Kitchen and Food Republic both give that figure, because the beans are still releasing carbon dioxide.
That gas is the reason to wait. Roasted beans hold CO2 in their structure and release it steadily in storage, and abruptly when ground, according to a study of how roasted coffee degasses. Brew too soon and all that gas gets in the way of the water.
Popular Science suggests waiting at least 24 hours before you brew. After that, roast only what you’ll drink in a week or two, and store your roasted beans somewhere airtight, cool and dark.
FAQs
Is it worth roasting coffee beans at home?
On cost, yes. Green coffee at about $9.50 a pound works out to roughly $11 a pound once roasting has burned off its weight. A 12 oz bag from a specialty roaster costs about $19, or around $25 a pound. You pay for it in time: 10 to 20 minutes a batch, plus cleanup.
How long does it take to roast coffee beans?
3 to 7 minutes in a hot-air popper, 10 to 20 minutes in a skillet, and anywhere from under 10 to 18 minutes in a home coffee roaster. In the oven, first crack comes at about 7 minutes.
Is it hard to roast your own coffee beans?
No. Your first batch will be drinkable if you stop shortly after first crack. Getting the same roast every time takes practice, which is why people keep notes and eventually buy a roaster.
What is the 15-15-15 rule for coffee?
It’s a rule of thumb, not a standard: use green coffee within 15 months, roasted coffee within 15 days, and ground coffee within 15 minutes. The last part has the best support. Roasted beans release their gas slowly when whole and all at once when ground, so grind just before you brew.