You’ll transform your pour over coffee from mediocre to exceptional by focusing on seven critical elements.
Start with the proper grind size (400-930 microns), ensuring consistency with a quality burr grinder.
Master the blooming process to release CO2 and improve extraction.
Perfect your pouring technique using steady circular motions and controlled flow.
Maintain precise coffee-to-water ratios (start with 1:16) using a digital scale. Select freshly roasted beans within their 7-21 day peak window.
Always preheat your equipment thoroughly. Keep water temperature steady between 195-205°F.
These fundamental adjustments will reveal the full potential of your morning brew.
Key Takeaways
- Adjust your grind size to match your dripper type – use finer grounds (400-700 microns) for V60 and medium-coarse for metal filters.
- Maintain consistent water temperature between 195-205°F throughout brewing and always preheat your equipment for temperature stability.
- Use proper coffee-to-water ratios starting with 1:16, measuring precisely with a digital scale for both ingredients.
- Pour in steady circular motions at a controlled speed to ensure even saturation without creating channels in the coffee bed.
- Use freshly roasted beans within 7-21 days post-roast and store them properly in airtight containers away from heat and light.
Perfect Your Coffee Grind Size

In regards to pour over coffee, achieving the perfect grind size is your foundation for exceptional results.
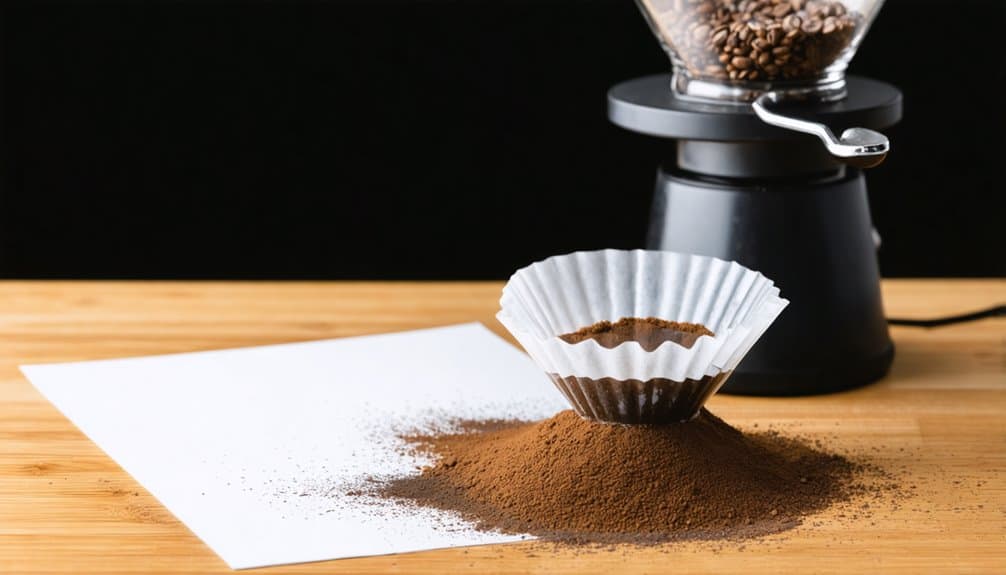
You’ll want to aim for particles between 400-930 microns, similar to granulated sugar or sand, with V60 brewers specifically requiring a finer 400-700 micron range.
Lighter roasts require finer grinding for optimal flavor extraction.
If you’re experiencing issues, remember these adjustments: when your brew’s too slow, go coarser; when it’s too fast, go finer.
For sour or weak coffee, adjust finer; for bitter notes, move coarser. You’ll need a quality burr grinder to maintain consistency – avoid blade grinders that create uneven particles.
Start with a medium to medium-fine setting and fine-tune based on your specific brewer.
For metal filters, lean towards medium-coarse; for paper filters, opt for medium-fine.
Remember, your grind size directly impacts extraction and brew time.
Master The Coffee Blooming Process
With your grind size dialed in, it’s time to master the coffee blooming process – a key step that sets up your entire pour over extraction.
When you bloom your coffee, you’re releasing trapped CO2 from the roasting process and preparing the grounds for peak extraction.
Swirling or stirring can help ensure even saturation during blooming.
Start by pouring hot water in a spiral motion, using 2.5 times the amount of your coffee dose.
You’ll want to guarantee every ground particle is saturated evenly – any dry spots will lead to inconsistent extraction.
Give your bloom 30-45 seconds to work its magic.
Watch for signs of proper blooming: an even rise of the coffee bed and uniform bubbling across the surface.
If you spot dry pockets, adjust your pouring technique and water amount.
A consistent, well-executed bloom will reward you with balanced, flavorful coffee.
Control Your Pouring Technique

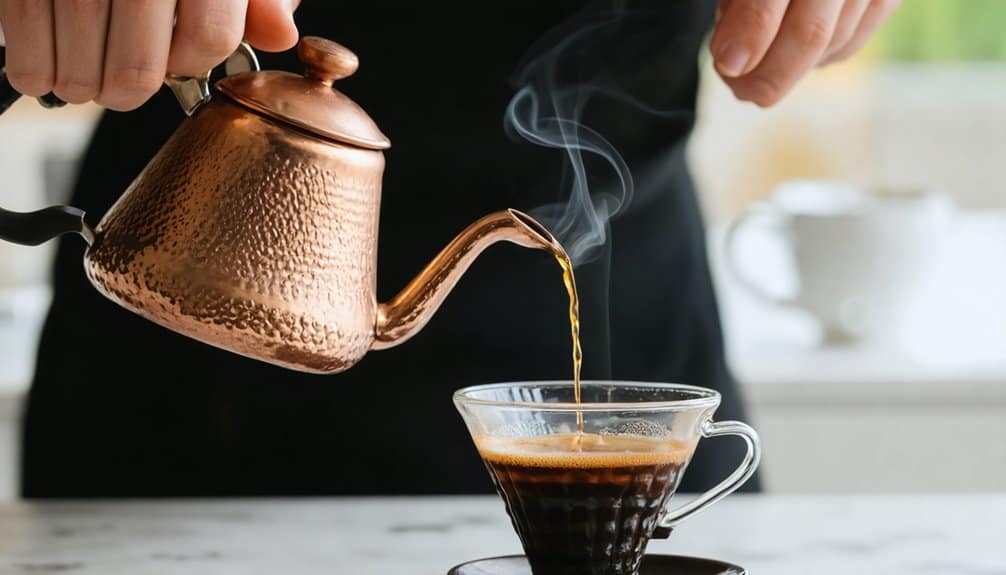
You’ll need to master three fundamental aspects of pouring technique to achieve ideal extraction in your pour-over coffee: maintaining steady circular motions from center to edge, controlling your water flow speed with precision, and developing a comfortable yet firm grip on your gooseneck kettle.
Your circular pouring motion should be consistent and methodical, working in concentric circles that guarantee even saturation of the coffee bed without creating channels or disturbing the grounds excessively.
A controlled pour rate, combined with proper kettle positioning and grip technique, will give you the stability needed to manage water flow and temperature throughout the entire brewing process.
Holding your kettle at the proper pour height near the coffee bed surface helps extend water turbulence into the grounds for better extraction.
Maintain Steady Circular Motion
Mastering the steady circular motion stands as one of the most critical skills in pour over coffee brewing.
You’ll want to start your pour at the center of the coffee bed and move outward in consistent circles, being careful to avoid hitting the brewer’s sides.
Your pouring technique directly impacts extraction quality.
When you’re maintaining steady circles, you’re ensuring even saturation of all grounds, which leads to balanced flavors in your cup.
A gooseneck kettle provides the precision control needed for this technique. Don’t pour from too high or too quickly, as this creates unwanted agitation.
Instead, keep your kettle close to the coffee bed and pour with gentle, controlled movements.
Using a scale helps you track your progress and develop muscle memory.
You’ll know you’re doing it right when your circular motions create an even coffee bed throughout the brewing process.
Control Water Flow Speed
Beyond mastering circular motions, controlling your water flow speed makes the difference between a balanced and an over-extracted cup.
Your gooseneck kettle is crucial for precise control, allowing you to maintain consistency throughout the brewing process.
A minimal agitation approach ensures the most predictable and repeatable results.
| Pour Type | Benefits | Common Mistakes |
|---|---|---|
| Continuous | Even saturation, consistent extraction | Pouring too quickly, creating channels |
| Pulse | Better control, adjustable brew time | Intervals too long, grounds dry out |
| High Pour | Increased agitation for light roasts | Over-agitation, inconsistent contact |
To fix flow speed issues, keep your kettle tilted sideways to reduce water pressure, and fill it only partially for better control.
You’ll want to maintain the water level between ½ and ⅔ full in your brewer, adjusting your technique based on your specific device.
Practice maintaining a steady, slow stream while monitoring your scale for precise measurements.
Master Gooseneck Kettle Grip
A proper gooseneck kettle grip forms the foundation of pour-over precision, combining ergonomic comfort with technical control.
Start by tucking your elbows close to your body and finding a comfortable handle position that allows even weight distribution.
You’ll want to maintain a consistent pouring height of 8-10 inches above the coffee bed.
Proper posture alignment helps prevent fatigue during extended brewing sessions.
To perfect your technique, practice pouring 100 grams of water through an empty dripper in exactly 10 seconds.
This exercise will help you develop muscle memory for flow control.
Focus on keeping your movements smooth and steady, without bouncing the kettle.
As you pour, maintain an even plane and adjust your pour rate to achieve peak turbulence in the coffee bed.
Make minor adjustments based on physical feedback until you’ve found your ideal pouring rhythm.
Balance Coffee And Water Ratios
Getting the right coffee-to-water ratio stands at the heart of pour-over perfection.
While the SCA Golden Cup Standard suggests a 1:18 ratio, you’ll want to start with 1:16 for a balanced brew and adjust based on your taste preferences.
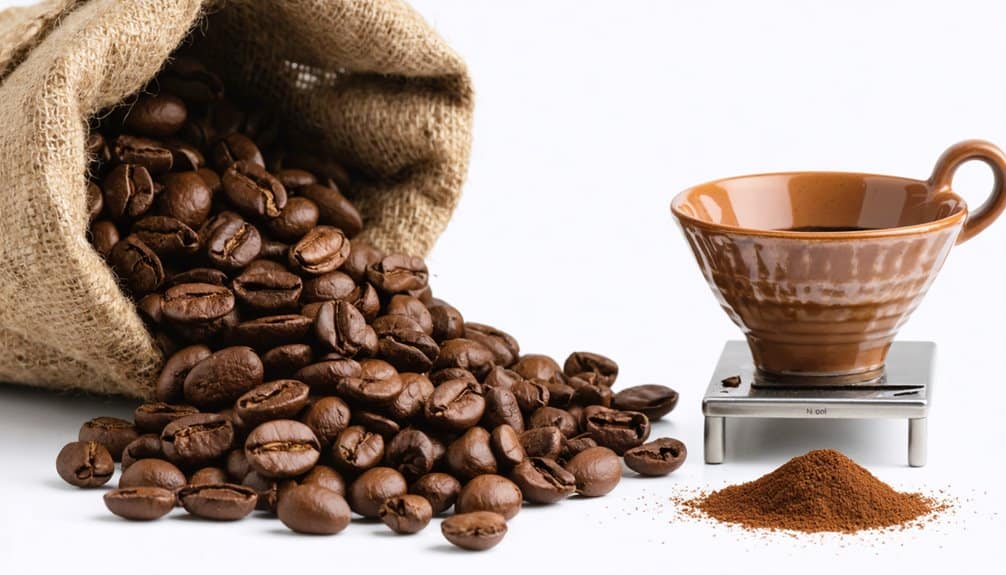
Use a digital scale to weigh both coffee and water in grams for consistent, precise measurements.
Maintaining a brewing temperature range between 197°F and 205°F ensures optimal extraction.
- For a 500g brew, start with 30g of coffee and adjust your ratio up or down
- If your coffee tastes weak and thin, tighten your ratio toward 1:13
- If you’re getting bitter notes, loosen your ratio closer to 1:18
Choose Fresh Quality Beans

You’ll greatly improve your pour over coffee by selecting beans roasted within the last two weeks, as fresh roasts deliver ideal flavor compounds and aromatic qualities.
The bright and clean flavors of pour over brewing shine best with fresh beans.
Protect your beans’ freshness by storing them in an airtight container away from light, heat, and moisture, which can rapidly degrade their quality.
Choose specialty-grade beans from reputable roasters over commercial alternatives, as they’re typically sourced from superior harvests and processed with greater attention to quality control.
Fresh Roast Date Matters
Fresh roast dates serve as a critical indicator of coffee quality in pour over brewing, determining whether you’ll achieve perfect flavor extraction or end up with a lackluster cup.
When selecting beans, you’ll want to target the ideal consumption window of 7-21 days post-roast, allowing proper degassing while maintaining peak flavors.
Supporting local roasters ensures you receive the freshest possible beans for optimal brewing results.
- Check your beans’ roast date and avoid using them beyond 30 days, as they’ll produce flat, uninspiring brews lacking the complex flavor notes you’re seeking.
- Allow freshly roasted beans to degas for 3-7 days before brewing to prevent inconsistent extraction and guarantee balanced flavor development.
- Store your beans in containers with one-way valves, protecting them from oxidation while letting CO2 escape, maintaining their intended flavor profile throughout your brewing experience.
Store Beans Properly Always
Proper bean storage practices form the foundation of exceptional pour over coffee, acting as a crucial safeguard against flavor degradation and premature aging.
You’ll want to invest in high-quality glass or ceramic containers with airtight seals for short-term storage, while stainless steel or dark glass vessels work best for long-term preservation.
Strong odors nearby can compromise your coffee’s flavor profile.
Keep your beans at room temperature in a cool, dark place away from heat sources and direct sunlight.
If you’re storing beans long-term, use the freezer, but remember to remove only what you’ll need to prevent moisture from condensation.
Always grind just before brewing, and buy quantities you’ll use within 1-2 weeks.
For best results, label your containers with roast dates and allow freshly roasted beans to degas for 3-7 days before use.
Specialty Grade Over Commercial
With specialty grade coffee beans at your disposal, pour over brewing reaches new heights of excellence that commercial alternatives simply can’t match.
You’ll experience brighter flavors, improved complexity, and superior consistency when you opt for beans scoring above 80 points on the specialty scale.
Medium-light roasts tend to perform best for pour over brewing, highlighting the inherent qualities of premium beans.
Here’s why you should prioritize specialty grade beans:
- They’re crafted with meticulous attention to detail, from harvest to roast, guaranteeing ideal flavor development and minimal defects.
- You’ll uncover distinct flavor profiles and pronounced acidity levels that showcase the bean’s true origin characteristics.
- The higher quality guarantees more consistent extraction, making it easier to perfect your pour over technique.
Preheat Your Pour Over Equipment
Starting with a properly preheated dripper is crucial for achieving ideal extraction temperatures during pour over brewing.
Without preheating, you’ll experience a significant temperature drop of up to 20°C, which compromises your coffee’s flavor potential, especially with light roasts that require temperatures above 90°C.
| Method | Effectiveness | Best For |
|---|---|---|
| Kettle Steam | Highest | Glass/Ceramic |
| Pour & Steep | Medium-High | Switch Drippers |
| Pour & Fall | Medium | Quick Setup |
You’ll get the best results using the kettle method – simply place your dripper on top of your kettle to utilize the steam.
This approach is both energy-efficient and more effective than the traditional pour and fall method.
For ideal temperature stability, don’t forget to preheat your brewing vessel alongside your dripper.
The kettle steam method demonstrated a 6°C temperature increase compared to the standard pour and fall technique.
Maintain Consistent Water Temperature

Now that your equipment is properly preheated, maintaining precise water temperature becomes your next key focus.
For ideal extraction, you’ll want to keep your water between 90-96°C (195-205°F).
Getting this right guarantees you’re extracting the full flavor potential from your beans while avoiding bitter over-extraction or weak under-extraction.
Small temperature changes can dramatically affect your coffee’s final taste.
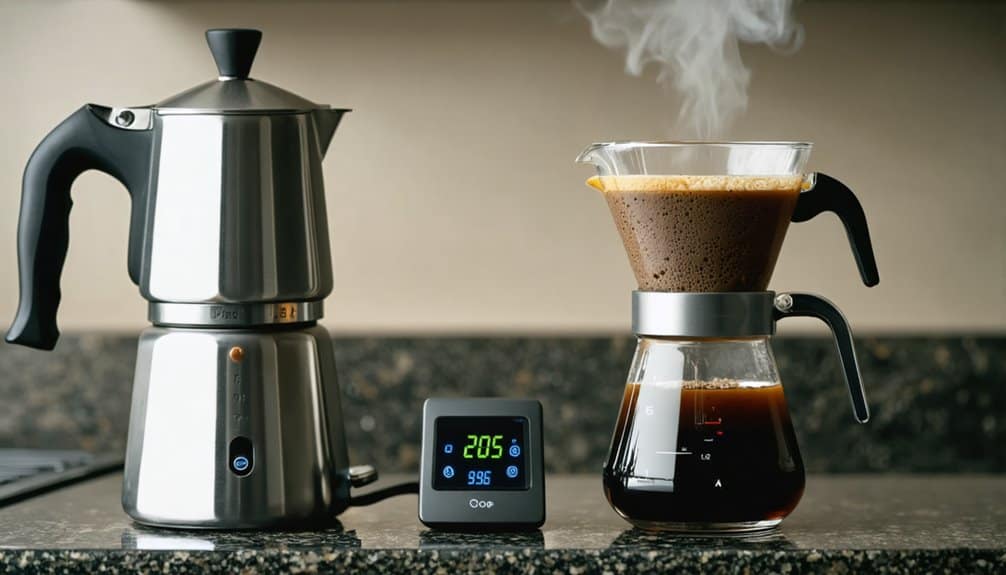
- Use a reliable thermometer to monitor your water temperature consistently – this isn’t guesswork, it’s precision brewing
- Adjust your temperature based on your roast level – lighter roasts prefer 90-92°C, while darker roasts excel at 94-96°C
- Keep your water temperature stable throughout the brewing process to achieve balanced extraction and consistent flavor profiles
FAQs
How Long Can I Store Unused Paper Filters Before They Affect Taste?
You’ll want to use your paper filters within 6-12 months for best taste. While they don’t technically expire, storing them longer can introduce unwanted papery flavors to your brew.
Should I Stir the Coffee Grounds During or After the Blooming Phase?
Patience is key. If you’re using a gooseneck kettle, you don’t need to stir during blooming. However, a gentle stir after blooming can help guarantee even saturation and prevent dry pockets.
Does Altitude Affect Pour-Over Brewing Time and Water Temperature Requirements?
Yes, at higher altitudes you’ll need to extend brewing time by 30-45 seconds and adjust for lower boiling points. You’ll want finer grounds and a slower pour for proper extraction.
Can I Reuse Coffee Grounds for a Second Pour-Over Brew?
Like squeezing water from a stone, you can’t extract good flavor from used grounds. You’ll get bitter, weak coffee since the initial brew already removed the crucial oils and compounds.
Why Does My Pour-Over Coffee Taste Different When Using Filtered vs. Tap Water?
Your coffee tastes different because filtered water often lacks crucial minerals that tap water contains. These minerals interact with coffee compounds during extraction, greatly affecting flavor development and overall taste richness.
The Bottom Line
You’ve now mastered the key elements of pour over coffee brewing, where precision makes all the difference.
Studies show that maintaining water temperature between 195-205°F alone can improve extraction by up to 28%.
By following these fundamental fixes, you’ll consistently produce cups that highlight your coffee’s complex flavor profiles.
Remember, pour over excellence isn’t just about technique—it’s about understanding the science behind each step.