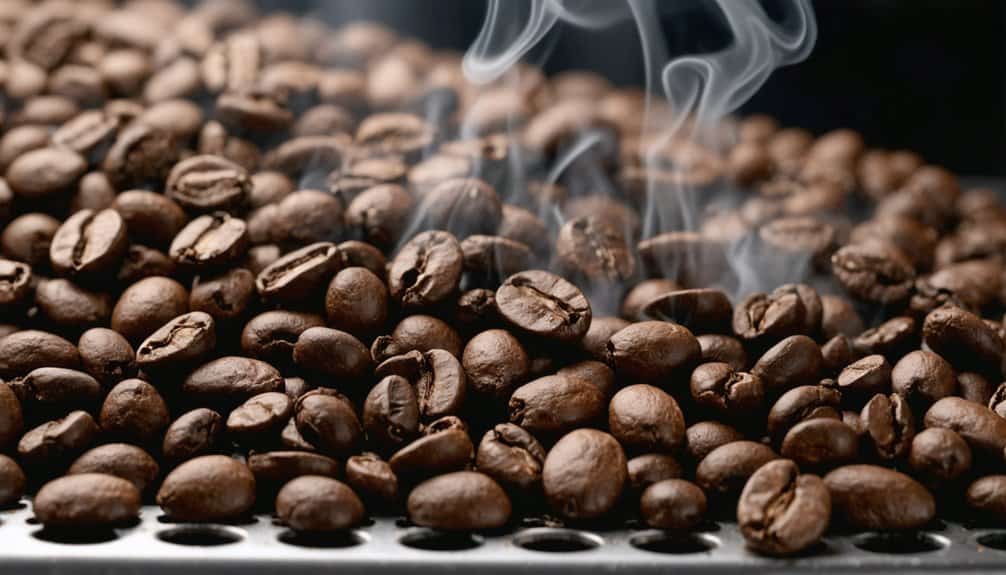
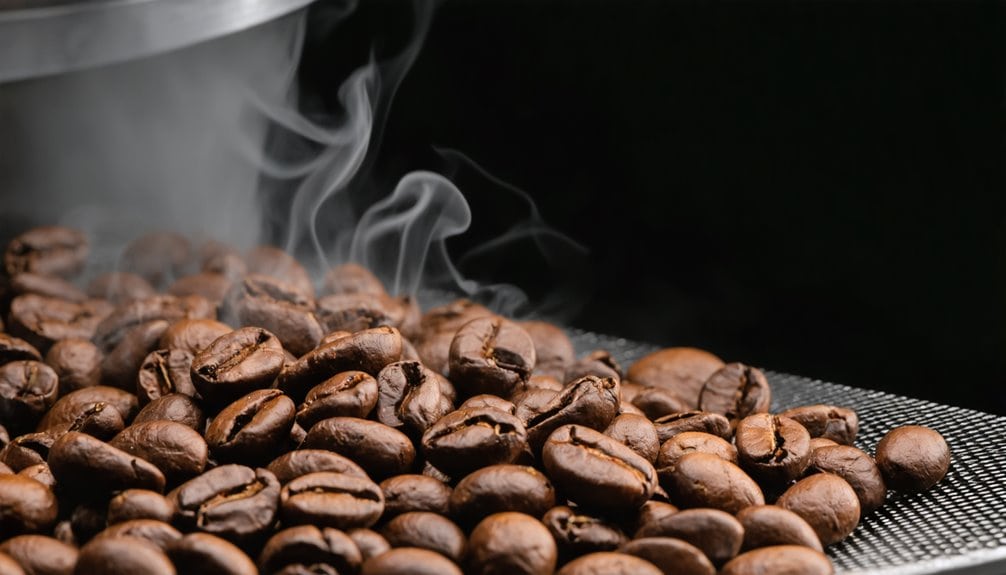
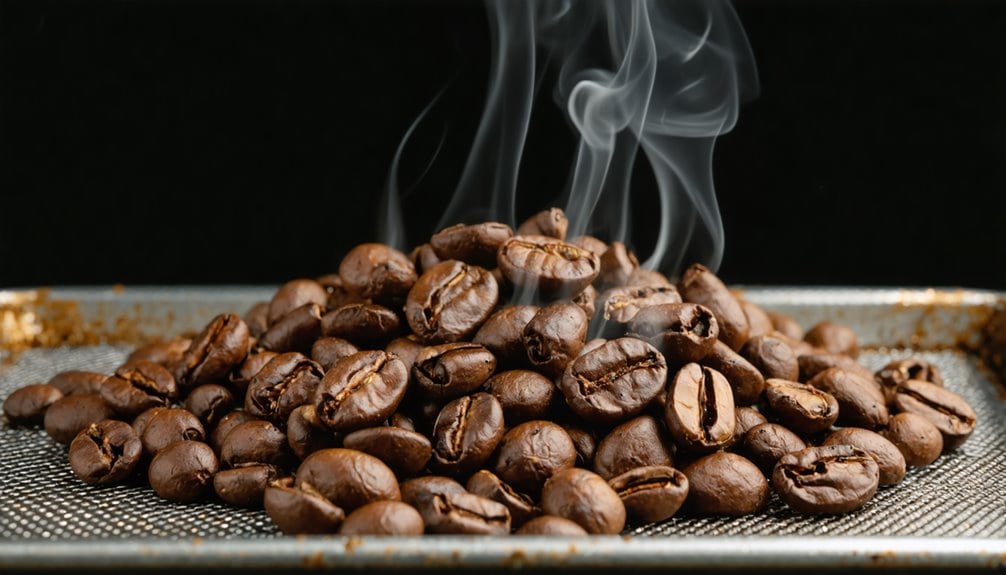
You’ll need to cool your freshly roasted coffee beans quickly to maintain their ideal flavor profile and chemical composition.
The critical cooling window occurs in the initial four minutes post-roast, where you must reduce bean temperature from around 200°C to below 40°C.
Proper cooling preserves sweetness, fruity notes, and prevents unwanted bitterness by stopping sugar chain formation.
If you don’t cool beans rapidly enough, you’ll risk over-roasting, moisture reabsorption, and compromised shelf life.
Air cooling methods prove most effective, as they avoid adding moisture while ensuring uniform temperature reduction.
Understanding the specifics of cooling techniques can transform your coffee’s final taste.
Key Takeaways
- Coffee beans must cool below 40°C within four minutes to preserve their optimal flavor profile and chemical composition.
- Rapid cooling prevents over-roasting, which can lead to unwanted bitterness and loss of desirable fruity notes.
- Proper cooling maintains sugar solubility and sweetness by preventing the formation of longer sugar chains during extended heat exposure.
- Quick temperature reduction prevents oils from rising to the bean’s surface, which helps preserve flavor complexity and extends shelf life.
- Controlled cooling prevents moisture reabsorption and physical defects like scorching, ensuring better overall cup quality and consistency.
The Science Behind Coffee Cooling

Coffee roasting’s final stage hinges on a critical cooling process that directly impacts the bean’s chemical composition and flavor potential.
When you’re cooling your beans, you’re racing against time to preserve the solubility of sucrose, the primary sugar that gives your coffee its sweetness.
You’ll need to bring the temperature below 40°C within four minutes to achieve peak results.
The entire cooling process should not exceed five minutes to prevent any undesirable changes in the beans.
You’ve got two main cooling methods at your disposal: air cooling and water quenching.
Air cooling maintains sugar solubility without adding moisture, making it ideal for light roasts and paper filter brewing.
Water quenching can help regain lost aromas but risks affecting the entire flavor profile through moisture incorporation.
If you don’t cool quickly enough, you’ll find your sugars forming less soluble compounds with other constituents, potentially compromising your final cup’s sweetness.
When Cooling Goes Wrong
If you’ve ever struggled with cooling your coffee beans properly, you’ll recognize how quality issues can quickly develop, from over-roasted characteristics to unwanted bitterness caused by carry-over cooking.
Your beans can suffer from moisture reabsorption when cooled incorrectly, leading to shorter shelf life and compromised flavors.
The presence of excess surface oils and reduced sugar solubility will greatly impact your final cup quality, resulting in a flatter, less complex flavor profile.
Modern roasters often employ chaff cyclone systems to efficiently separate debris while cooling beans.
Over-roasted Bean Problems
The consequences of improper cooling after roasting can lead to severe quality issues in coffee beans, manifesting through both physical and chemical changes.
You’ll notice numerous defects when beans aren’t cooled properly, including scorching, tipping, facing, and chipping.
These imperfections don’t just affect appearance; they’ll greatly impact your coffee’s flavor profile.
- Scorched beans develop brown or black specks from contact with overheated surfaces
- Tipping creates blackened spots at bean tips due to rapid heating
- Facing occurs when beans stick to the drum wall during roasting
- Chipping presents as moon-like craters from uneven pressure
Beyond physical defects, you’re also risking increased acrylamide formation, a known carcinogen that develops during the Maillard reaction.
When beans aren’t cooled properly, they’ll continue to undergo chemical changes, resulting in unwanted bitterness and reduced sweetness.
Poor cooling practices often lead to over-roasted coffee beans that appear almost black in color.
Moisture and Quality Issues
Beyond physical defects, moisture-related issues present another major challenge when cooling roasted coffee beans.
When you’re using water quenching methods, you’ll notice beans can reabsorb moisture, which considerably shortens their staling time and accelerates spoilage.
This reabsorption substantially alters your coffee’s aromatic profile and overall quality.
You’ll also want to avoid delayed cooling, as it causes overdevelopment in your beans.
When you don’t cool your coffee quickly enough, you’ll lose those desirable fruity notes and sweetness, ending up with unwanted bitterness and harshness instead.
The excess heat forces oils to the surface, making sugars less soluble and resulting in a flatter flavor profile.
Professional roasting studies have shown that controlled cooling rates produce superior flavor retention.
For best results, you’ll need to cool your beans within 3-5 minutes, ideally using air cooling to prevent moisture-related deterioration.
Best Methods For Cooling

When cooling your freshly roasted coffee beans, you’ll find air cooling to be one of the most reliable and effective methods, as it efficiently drops bean temperature to ambient levels without introducing moisture.
Air cooling can be accomplished by passing ambient air through the beans in either the roasting drum or a dedicated cooling unit, with household tools like metal colanders working well for small batches.
Proper cooling helps lock in flavors during the critical post-roast phase.
While water quenching offers rapid cooling and can help restore lost aromas, it introduces moisture that reduces shelf life and may lead to premature staling – making it a less preferred option among coffee experts.
Air Cooling Basics
Successfully cooling coffee beans after roasting requires precise timing and appropriate equipment to maintain quality and flavor.
You’ll need to cool your beans from 200°C to 35°C in under five minutes to prevent unwanted changes in taste and aroma.
Air cooling, whether done in the roasting drum or separate cooling unit, offers the advantage of not adding moisture, which extends your beans’ shelf life.
Proper cooling helps preserve the desirable characteristics developed during the First Crack stage.
- Use a cooling sieve with steel mesh for effective home cooling
- Maintain high fan settings to achieve rapid temperature reduction
- Cool beans to 50°C within three minutes for ideal results
- Guarantee uniform cooling across all beans for consistent quality
Your cooling process is just as essential as roasting.
By using proper air cooling techniques, you’ll preserve the natural aroma while avoiding quality degradation from residual heat exposure.
Water Quenching Pros/Cons
Water quenching offers a rapid cooling alternative for roasted coffee beans through controlled moisture application.
You’ll find this method particularly effective in regaining lost aromas and halting the roasting process quickly, especially in extreme climates or high-altitude locations.
Understanding moisture’s chemical impact during the cooling process is essential for optimal flavor development.
However, you’ll need to weigh these benefits against significant risks.
While water quenching can improve aromatic properties, it often leads to moisture reabsorption in the beans, resulting in shorter shelf life and faster staling.
Your beans may become compromised if the water doesn’t evaporate immediately upon contact.
When implementing water quenching, you’ll want to use a precise, controlled mist application that vaporizes instantly.
This technique requires careful monitoring and expert timing to prevent over-penetration, making it a challenging but potentially rewarding cooling method for your roasting operation.
Temperature and Timing Matter
The precise control of temperature and timing stands out as the cornerstone of effective coffee bean cooling.
You’ll need to cool your beans to ambient temperature within 4-5 minutes to preserve their quality and flavor potential.
When you’re monitoring the cooling process, the essential threshold is getting below 40°C within this window.
Here’s what you need to know about proper cooling parameters:
- Your beans must start cooling immediately after roasting to prevent unwanted quality changes
- The initial 4 minutes are vital for maintaining sweetness and sugar solubility
- Larger batches require more efficient cooling methods to meet the time requirement
- Slower cooling allows sugars to form longer chains, reducing their solubility and affecting flavor
Temperature management during this phase directly impacts your coffee’s final taste profile and extraction potential.
Darker roasts experience greater weight loss of 20-22% during the roasting process, making efficient cooling even more critical.
Quality Impact of Proper Cooling

Proper cooling directly influences your coffee’s ultimate flavor profile and long-term stability.
When you cool your beans rapidly, you’re preserving the sweetness and fruity notes while preventing unwanted bitterness from overdevelopment.
The goal is to bring your beans below 40°C within 4 minutes to maintain peak quality.
Research shows that colder grinding temperatures produce more uniform coffee particles.
Your cooling method choice greatly impacts your coffee’s shelf life and flavor integrity.
Air cooling, while most common, won’t add unwanted moisture to your beans, which helps extend staling time.
Water quenching, though effective for aroma, can cause beans to reabsorb moisture, potentially shortening their shelf life.
You’ll find that faster cooling consistently leads to better cup quality, with proper airflow being essential for uniform temperature reduction, especially in larger batches.
Home Roaster Cooling Techniques
After completing your home roast, effective cooling becomes your next critical task.
You’ll need to reduce the temperature from 200°C to 35°C within 5 minutes to preserve sweetness and prevent unwanted flavor compounds.
Your cooling setup should prioritize continuous airflow while maintaining temperature control throughout the process.
Allowing proper cooling time of seven minutes minimum ensures beans reach their optimal temperature of 140°F.
- Set up a dual-colander system to transfer beans back and forth, creating maximum air exposure
- Implement a modified air popcorn popper as a dedicated cooling tower
- Create a DIY cooling station using a shop vac to pull air through beans
- Install a stainless steel steamer basket in a storage cylinder for controlled cooling
These methods can be improved by adding fan-forced air or elevating your pour height to increase cooling efficiency.
Remember, your goal is to achieve cooling below 40°C within 4 minutes.
Common Cooling Mistakes

During the critical post-roast phase, coffee beans require precise cooling control to prevent common mistakes that can diminish quality and flavor development.
If you don’t cool your beans immediately after roasting, they’ll continue to roast internally, leading to flavor deterioration and unwanted carbon dioxide buildup.
Some roasters use snow banks in winter for natural cooling.
You’ll want to avoid incorrect cooling methods like water quenching, which introduces moisture and accelerates staling.
Instead, use proper air cooling techniques while ensuring your cooling time doesn’t exceed five minutes.
Your equipment shouldn’t be overloaded, as this causes uneven cooling and quality defects.
It’s crucial to monitor bean temperature throughout the process, aiming for beans that are warm to touch within 2-3 minutes.
Maintain consistent airflow control and use appropriate cooling technology, such as specialized cooling pans or vacuum systems.
FAQs
Can Coffee Beans Be Stored Immediately After Cooling?
You shouldn’t store coffee beans immediately after cooling. Instead, let them degas for 12-24 hours in a loosely covered container before transferring to an airtight container with a one-way valve.
Does Altitude Affect the Cooling Time for Coffee Beans?
Like a space shuttle’s re-entry, you’ll find that higher altitudes accelerate cooling time due to lower air pressure and moisture content, requiring adjustments to your cooling process for ideal results.
How Does Bean Size Influence the Cooling Process?
You’ll find smaller beans cool faster due to lower thermal resistance, while larger beans cool slower. This difference affects your cooling time and can impact uniformity in heat dissipation.
Can You Reuse Cooled Beans for a Second Roasting?
You shouldn’t reuse cooled beans for a second roasting, as they’ll suffer significant quality loss, over-roasting, and structural damage. It’ll lead to bitter flavors and unpredictable results in your coffee.
Do Different Coffee Varieties Require Different Cooling Temperatures?
Like stars in the night sky, all coffee varieties follow the same cooling rules. You’ll need to cool your beans to ambient temperature or below 40°C within 4-5 minutes, regardless of type.
The Bottom Line
You’ll find that proper coffee bean cooling isn’t just an optional step – it’s essential to your final cup’s quality.
As the old saying goes, “patience is a bitter plant, but its fruit is sweet.” By following precise cooling protocols, you’re halting the roasting process, stabilizing oils, and preventing unwanted chemical reactions.
Master your cooling technique, and you’ll guarantee peak flavor development, consistent results, and structurally sound beans.