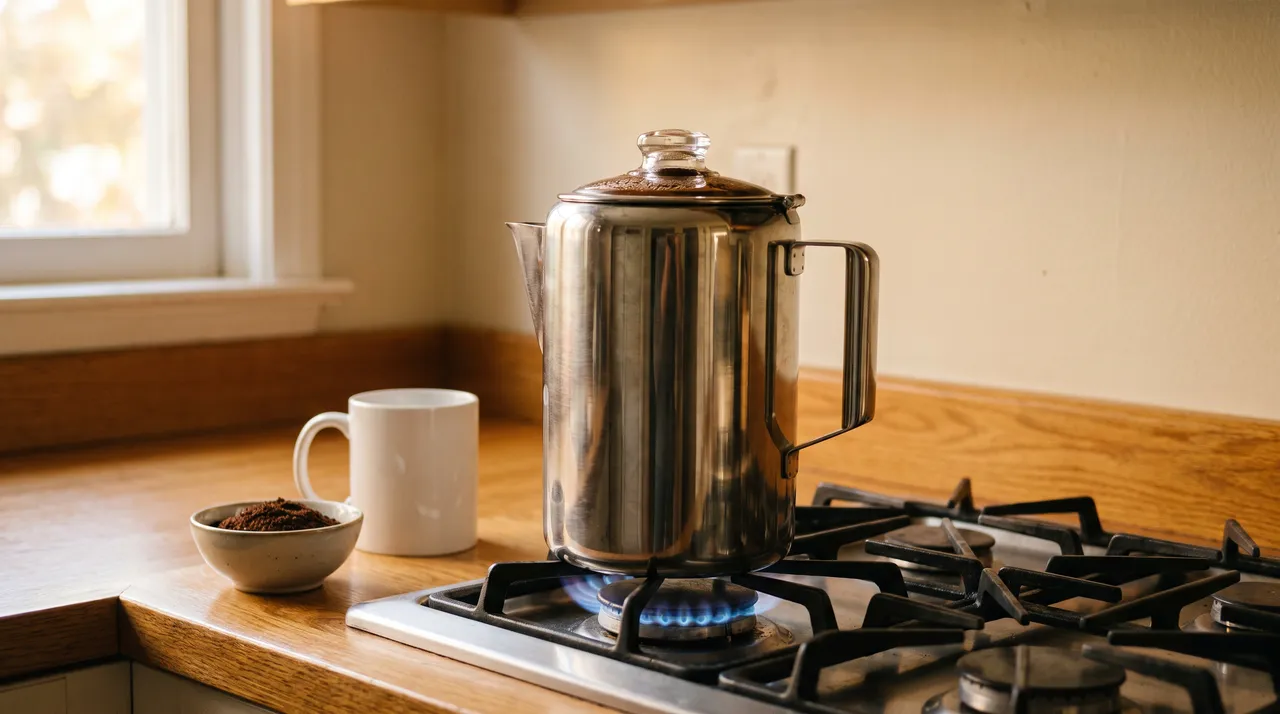
To make percolator coffee, use 1 rounded tablespoon of coarse ground coffee per 5 oz cup of water. Heat it on medium until it starts to perk, then turn the heat down and let it perk for 6 to 10 minutes.
That’s how to use a percolator without the burnt, bitter taste it’s famous for. The rest of this page is the detail: the ratio for every pot size, why percolators burn coffee, and what to change when yours tastes wrong.
Full disclosure. I brew my daily coffee on a Nespresso Vertuo Up, not a percolator, and I’m not going to pretend otherwise. The ratios, times and steps here come from the manufacturers’ own instructions, and the “why it tastes burnt” part comes from basic brewing temperatures.
How to make percolator coffee on the stove
You need a stovetop percolator, coarse ground coffee, cold water and a timer. That’s the whole kit.
- Fill the pot with cold water to the line for the number of cups you want. A percolator “cup” is about 5 oz, not a full mug, so an 8-cup pot makes about 40 oz.
- Fit the stem and basket into the pot. Make sure the stem sits flat on the bottom, or it won’t pump.
- Add the coffee to the basket: 1 rounded tablespoon per cup. The table below has the amounts for each pot size.
- Put the spreader lid on the basket, then the main lid on the pot.
- Heat on medium until the first bubble of coffee shows in the glass knob on top.
- Turn the heat down as soon as it perks. You want a steady bubble in the knob every couple of seconds, not a rolling boil. This is the step that decides whether your coffee tastes burnt.
- Perk for 6 to 10 minutes, timed from the first perk. The color in the knob goes from pale to a rich brown.
- Take it off the heat and lift the basket out right away, then pour.
The tablespoon per cup, the medium heat and the 6 to 10 minutes all come from Café Brew’s stovetop percolator instructions. They call 10 minutes the maximum once it’s bubbling.
Step 8 matters more than it looks. Leave the basket in and the grounds keep soaking in hot coffee, so a good pot turns bitter while you drink the first cup.
Percolator coffee ratio: how much coffee per cup
Start at 1 rounded tablespoon per 5 oz cup of water. That’s Café Brew’s figure for its stovetop pots, and it sits inside the range Presto prints for its electric percolator.
| Cups | Water | Start with | Presto’s range |
|---|---|---|---|
| 2 | 10 oz | 2 tbsp | 2 to 3 tbsp |
| 4 | 20 oz | 4 tbsp | 3 to 7 tbsp |
| 6 | 30 oz | 6 tbsp | 5 to 10 tbsp |
| 8 | 40 oz | 8 tbsp | 7 to 13 tbsp |
| 10 | 50 oz | 10 tbsp | 8 to 15 tbsp |
| 12 | 60 oz | 12 tbsp | 10 to 16 tbsp |
Using a coffee scoop instead of a spoon? Farberware’s percolator manual counts one standard scoop as 2 level tablespoons, so halve the “Start with” numbers.
If the coffee is weak, add more coffee next time. Don’t just perk it longer. Longer perking does make it stronger, but it makes it more bitter at the same rate. More coffee gets you the strength without the bitterness.
Do percolators burn coffee?
Not literally. A percolator over-extracts coffee: it runs near-boiling water through the same grounds again and again until the bitter compounds take over.
Here’s why. A percolator only pumps when the water at the bottom boils. Steam bubbles push water up the stem, it spills over the basket, drips through the grounds and falls back down to go round again.
Water boils at 212°F at sea level, according to the USDA. The National Coffee Association puts ideal brewing water at 93°C, give or take 3 degrees, which is about 194 to 205°F, and says to let boiled water rest for about a minute first. A percolator never lets the water rest.
So the water starts hotter than ideal, then keeps cycling. Every pass pulls more out of the grounds, including the harsh stuff a single pass would leave behind. If you want the detail on why heat matters this much, here’s more on the ideal coffee brewing temperature.
Turning the heat down after the first perk is the fix. Lower heat means fewer, gentler pumps, so less water goes through the grounds in the same 6 to 10 minutes.
Actual burning only happens when a pot boils dry. Then you get a scorched smell and a black crust on the bottom, and you need the cleaning section further down.
Why your percolator coffee tastes burnt, bitter or weak
| Problem | Likely cause | Fix |
|---|---|---|
| Tastes burnt | Heat left high, so it boils hard through the grounds | Turn the heat down at the first perk |
| Tastes bitter | Perked too long, or basket left in after brewing | Stop by 10 minutes and lift the basket out |
| Weak or watery | Too little coffee, or a dirty stem | Add coffee before adding time, and clean the stem |
| Grounds in the cup | Grind too fine for the basket | Use a coarse grind, or line the basket with a paper filter |
| Won’t perk | Stem not seated, or blocked with old coffee | Reseat the stem and clean out the tube |
Presto’s own troubleshooting lists too little coffee and sediment build-up as the two main reasons its percolators make weak coffee.
Two causes don’t fit in a table.
The beans. Dark roasts already taste roasty and bitter, and a percolator pushes them further. If your coffee tastes burnt no matter how careful you are, try a medium roast before you blame the pot.
Yesterday’s grounds. If the basket isn’t emptied and rinsed, old grounds get brewed a second time. They have nothing left to give except bitterness.
How long to percolate coffee
Perk for 6 to 10 minutes after the first perk shows in the knob. Time it from that first perk, not from when you put the pot on the stove.
There are two clocks here. The first is how long the pot takes to start perking, which depends on how much water you’re heating and how hot your burner runs. The second is the perk time, and that’s the one that decides the flavor.
Start checking at 6 minutes. If the coffee in the knob is a rich brown and a sip tastes right, you’re done. Café Brew treats 10 minutes as the limit, so don’t go past it.
Camping in the mountains? Water boils at a lower temperature as you climb, just under 1°F lower for every 500 feet, per the USDA. That means a percolator at altitude brews slightly cooler, which works in your favor.
The two percolators I’d start with
Still choosing a percolator? These are the two I’d look at first: one for the stove, one that plugs in.
- Brews 4 to 8 cups on the stove
- Polished stainless steel body
- Permanent filter basket, no paper needed
- Stay-cool knob and handle
Pros
- No electronics to fail, works at camp on a burner
- Glass knob lets you watch the color to judge when it's done
- Lifetime limited warranty, per Farberware
Cons
- Induction isn't on Farberware's cooktop list
- Hand wash only
- You control the heat, so it's easy to overdo
The Farberware Yosemite is the stovetop percolator most people picture: polished stainless steel, a glass knob on top, a permanent basket. Farberware lists it for gas, electric coil, glass and ceramic cooktops. Induction isn’t on that list, so skip it if that’s what you cook on.
- Brews 2 to 12 cups
- Stainless steel body, basket and perk tube
- Signal light comes on when the coffee is ready
- Detachable cord for serving at the table
Pros
- No guessing at heat or timing
- Takes paper filters for less sediment
- Big enough for a crowd
Cons
- Keeps coffee hot while plugged in, so unplug it once it's done
- Base can't go in water
- Needs an outlet, so no good at camp
The Presto 02811 handles the heat for you, which is the hard part on a stove. Its manual is the source for the electric steps further down.
Best grind and coffee for a percolator
Use a coarse grind, about what you’d use in a French press. Fine coffee slips through the holes in the basket and ends up in your cup.
Pre-ground drip coffee works in a pinch. Presto’s manual says regular or percolator grind both work in its electric pots, used with a paper filter in the basket.
For the beans, medium roast is the safe pick. A percolator brews hot and long, which already leans bitter, and a dark roast starts you further down that road.
Only have whole beans and no grinder? Here’s how to grind coffee beans without a grinder.
How to use an electric percolator
An electric percolator controls the heat for you, which takes the biggest mistake off the table. These steps follow Presto’s instructions for its 02811.
- Fill with fresh, cold water to the cup mark. Presto says to make at least 2 cups at a time.
- Add a paper filter to the basket if you’re using one, then the coffee. Use the ratio table above.
- Fit the basket and spreader onto the perk tube, then put the lid on.
- Plug the cord into the pot first, then into the wall.
- Wait for the signal light. It comes on when the coffee is ready.
Here’s the catch. Presto’s manual says the coffee “stays hot as long as the coffee maker is plugged in.” Coffee held hot for hours goes flat and bitter, so unplug it once it’s done, or pour the pot into a thermos.
Don’t lift the basket out straight away on an electric pot. Presto says to let it cool first, so unplugging is your fix here.
Percolator coffee vs drip
| Percolator | Drip machine | |
|---|---|---|
| Water through the grounds | Over and over, 6 to 10 minutes | Once |
| Water temperature | Boiling to start (212°F at sea level) | Set by the machine |
| Filter | Metal basket, paper optional | Paper |
| Taste | Strong and heavy, easy to overdo | Cleaner and lighter |
| Needs power | Stovetop: no | Yes |
A percolator wins at camp and in a power cut. A drip machine wins if you want a clean cup without standing over the stove. Café Brew says as much in its own instructions: percolator coffee usually tastes stronger than drip.
If you’re leaning toward drip, these are the budget drip coffee makers worth buying.
Making percolator coffee while camping
Camping is where most people still use a percolator. The steps don’t change. The heat does.
You can’t turn a campfire down, so you control the heat with where you put the pot. Bring it up to a perk over the flames, then move it to the edge of the fire or onto the coals to perk gently.
Set a timer anyway. It’s easy to lose track at camp, and a forgotten percolator is a bitter one. If you’d rather not babysit a pot at all, a camping French press brews once and stops.
How to clean a percolator, including a burnt one
- After every pot: empty the grounds, then wash the basket, stem, lid and pot in warm, soapy water. That’s straight from Presto’s manual.
- When the coffee turns weak: scrub out the inside of the stem. Presto names sediment build-up as a cause of weak coffee.
- Electric percolators: never put the base in water. Presto’s manual is clear on that.
- Burnt-on residue: fill the pot with white vinegar and let it sit until the crust softens, then wipe it out with a soft cloth. Work stubborn spots with a paste of baking soda and water.
- Never use bleach inside a coffee pot.
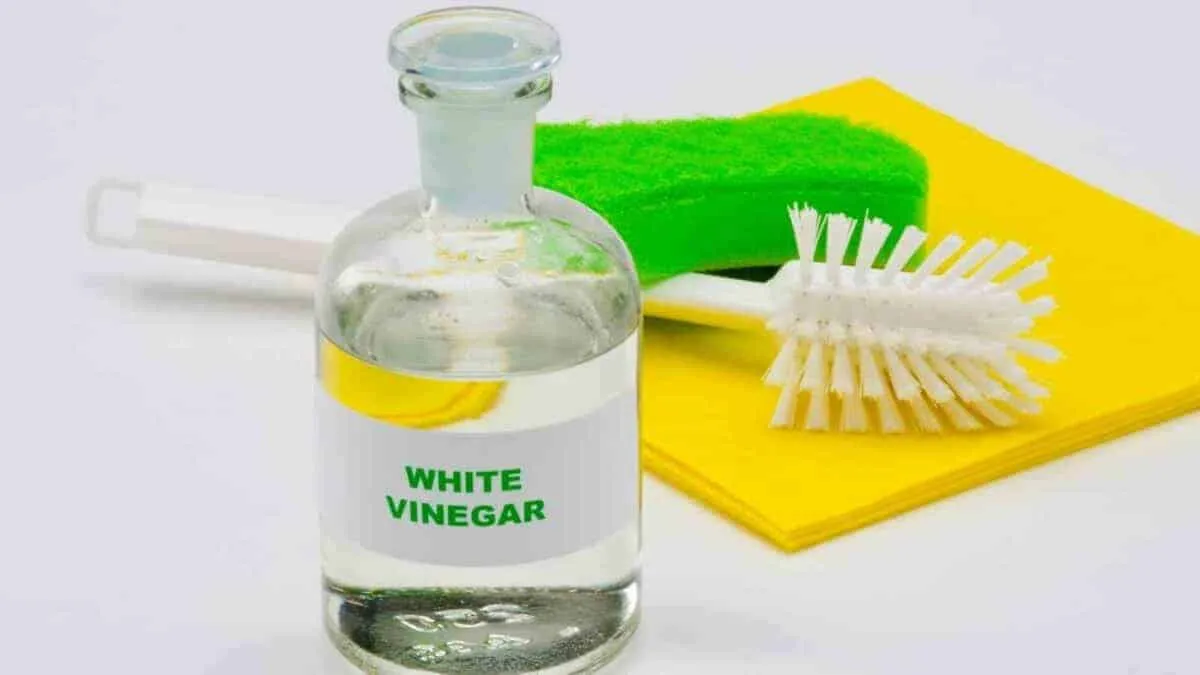
Hard water leaves scale in the pot over time. You can descale with vinegar the same way you would a coffee machine reservoir.
FAQs
Is percolator coffee bad for you?
Not for your cholesterol. Coffee contains two compounds, cafestol and kahweol, that raise LDL. A 1995 study in the Journal of Agricultural and Food Chemistry found them at negligible levels in percolated coffee, the same as drip, against about 3.5 mg a cup in French press coffee.
Is percolator coffee stronger than drip?
It tastes stronger, and Café Brew says so in its own instructions. Most of that comes from the coffee cycling through the grounds again and again, which is also why it tips into bitter so easily.
Do you need a filter in a percolator?
No. The metal basket is the filter. A paper filter in the basket cuts down on grounds in your cup, and Presto’s electric pots are made to take one.
Is a moka pot a percolator?
No, though people mix them up all the time. A moka pot pushes water up through the coffee once, using steam pressure, into a top chamber. A percolator sends the same water through the grounds over and over.
Can you still buy a coffee percolator?
Yes. Stovetop and electric models are both still made. The two above are a good place to start.
The short version: 1 rounded tablespoon per cup, a coarse grind, turn the heat down at the first perk, and pull the basket by 10 minutes. Do that and a percolator makes a strong, hot pot without the burnt taste.